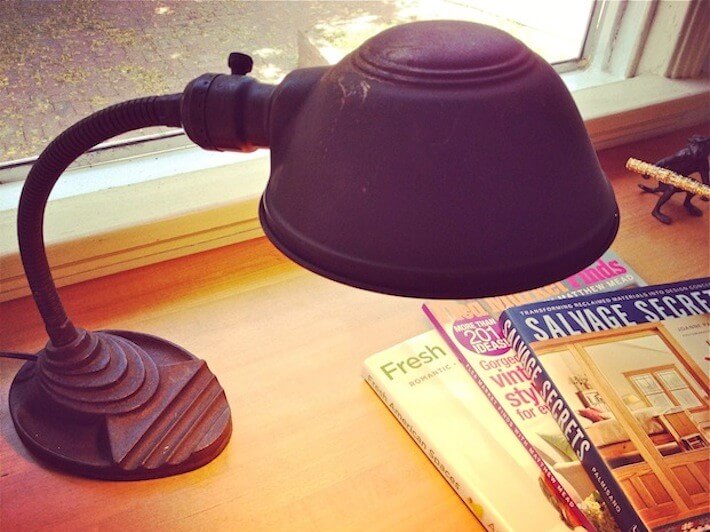
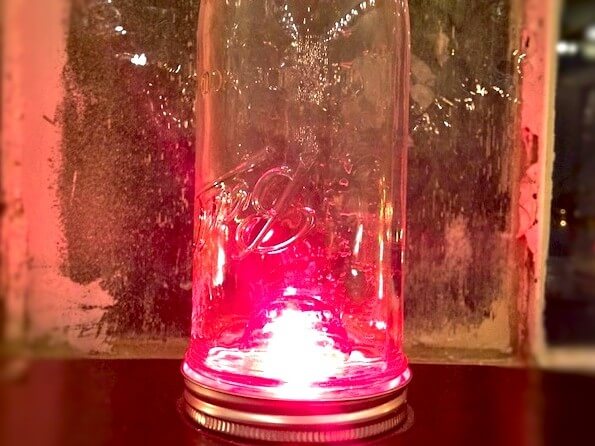
It seems today, lights more than peanut butter go better with jelly…well, jelly jars that is. So, when my brother-in-law, Johnnie (who also happens to be co-founder and Chief Nerd of DiggersList) texted me these images and video yesterday, I was totally stoked to share them with you, our DIY “HomeJellies”.
Mounted on a shelf or on a bar, these fun, vintage, even industrial-looking lights are so simple and inexpensive to make!
Here’s what you’ll need:
- string of colored or white lights (size of bulbs is up to your personal preference)
- 8 or 12 oz jelly jars (available at stores like Target, Lowes, or your local hardware store)
- wood shelving (or existing shelf or bar will do)
- drill and bit
Here’s what you do:
- Measure the distance between lights and mark where you’d like the center of your jars to go. Note: be sure to allow enough space for the length of the wires.
- Drill a hole into both the center of the jar cap AND the mark you just made on your shelf or bar. NOTE: depending on the size of your light, you’ll need to make the holes large enough to allow the light to screw into its plug. If your shelving is too thick to place the wire and plug underneath it (see 3rd photo below), you’ll have to drill a hole large enough so that you can push them up closer to the jar so that the plug can connect with the light.
- Remove each light from its plug on your string of lights.
- Wire the light plugs from hole to hole. (a) place the jar cap onto the hole, (b) push the plug just underneath the cap, then (c) screw in the light bulb which will hold the cap in place nice and snug. Continue will each light until finished.
- Screw the jars back onto the caps (they will be upside down).
- Plug in and light up!
Q. How have you repurposed jelly jars in your home?
Special thanks to Lisa Cardenas, owner of Haunted Hands and DIYer of these fabulous jelly jar lights.
Photos: Johnnie Munger, DiggersList.


