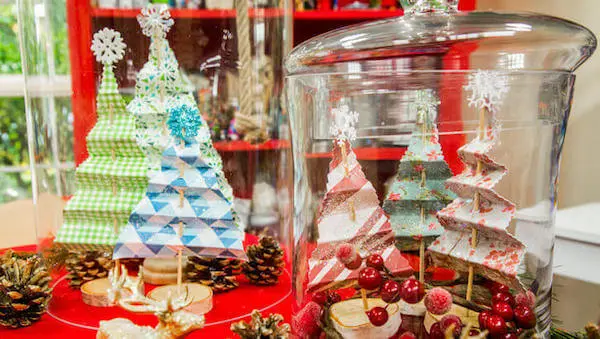
I received an early Christmas/birthday present this year! I was invited back onto Hallmark Channel’s Home & Family show again to demonstrate how to upcycle all those wrapping paper and scrap booking scraps into winter wonderland paper trees!
I do believe Santa would approve!
It’s the perfect time to start planning our tablescapes for our holiday parties and with just a few items you most likely already have around the house, you’ll have an impressive and festive centerpiece to showcase your DIY-crafting artistry!
And don’t forget the thoughtful element of keep’n it green!
• festive wrapping paper or scrapbook paper scraps
• scissors and/or crinkle scissors (available at any craft store)
• glue stick
• wooden skewers
• sticky stars or snowflakes (available at any craft store)
• drill and 1/8″ drill bit
• cut branch, wooden base (you can DIY or buy at any craft store)
• cookie sheet and parchement paper and/or newspaper
• spray adhesive
• glitter
• pruning sheers
• glass cloche (available at craft or home goods stores)
Instructions:
1. Measure the height of your cloche to see how tall you’ll want your trees to be. Note: be sure to allow for the wooden base and the sticker star!
2. Fold wrapping paper scrap in half, or double your scrap booking paper. Be sure to cut with the wrong sides together.
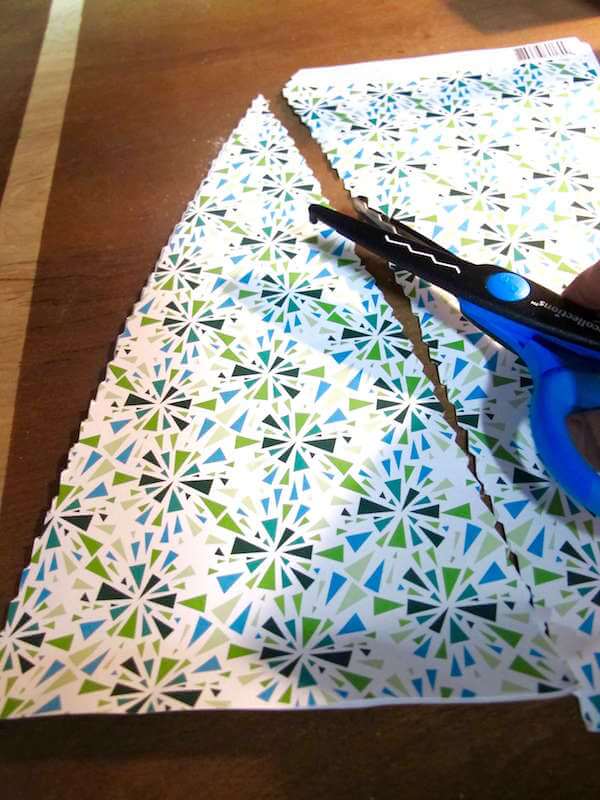
3. Cut paper scrap into the shape of a triangle (you can also use crinkly scissors for fun edges!).
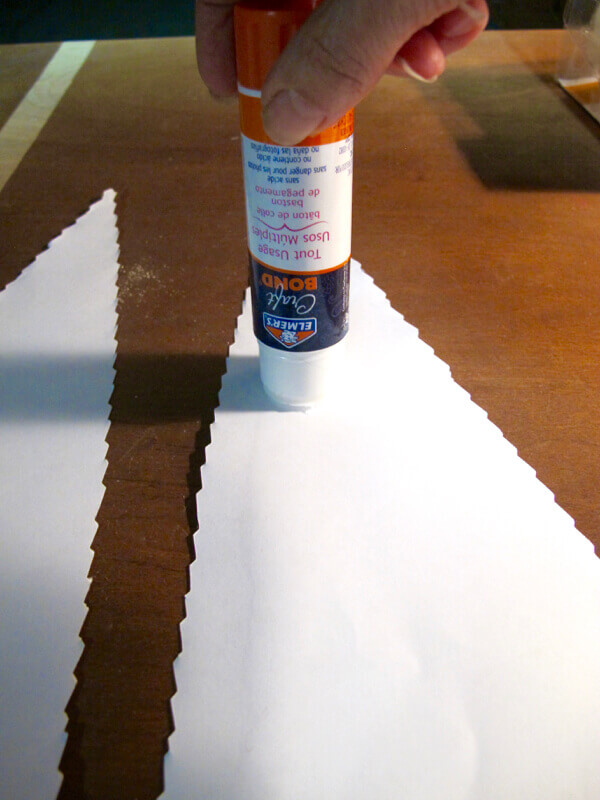
4. Adhere the two sides or pieces together with a glue stick.
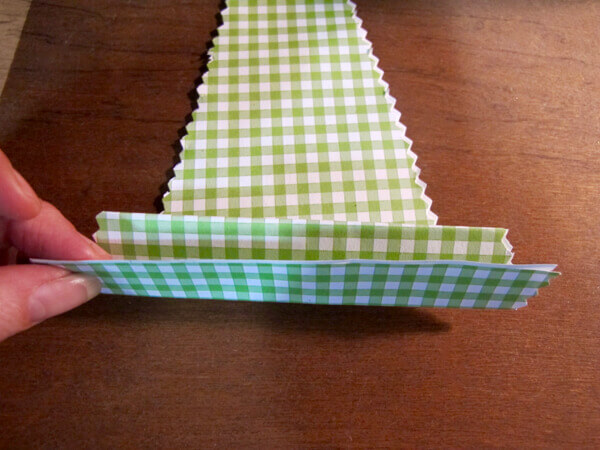
5. Fold paper into a fan.
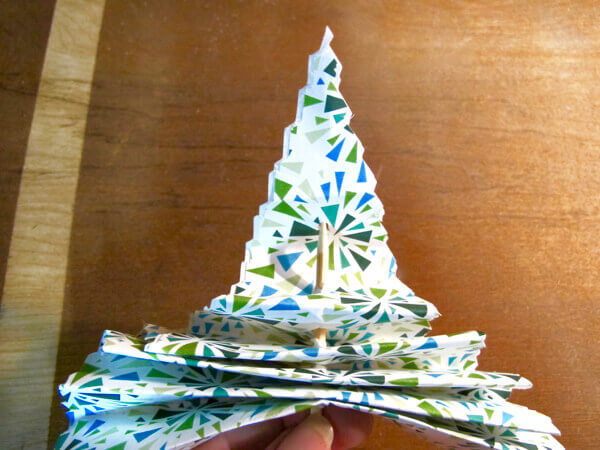
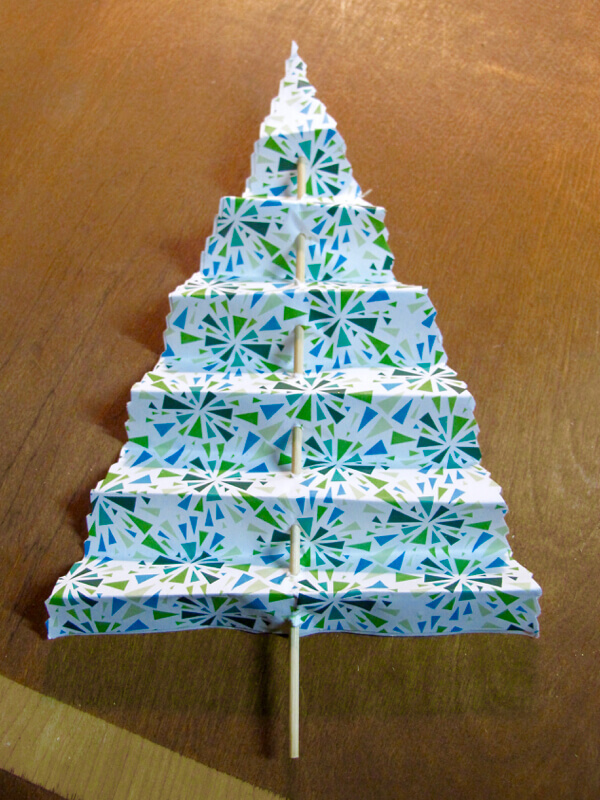
6. Find the center of the triangle and mark it, then take a wooden skewer and run it through the center of each fold. Note: you may have to use some force with this step. Don’t worry if you scrunch the tip of the skewer or even tear or crinkle a little of the paper…it’ll add to its character!
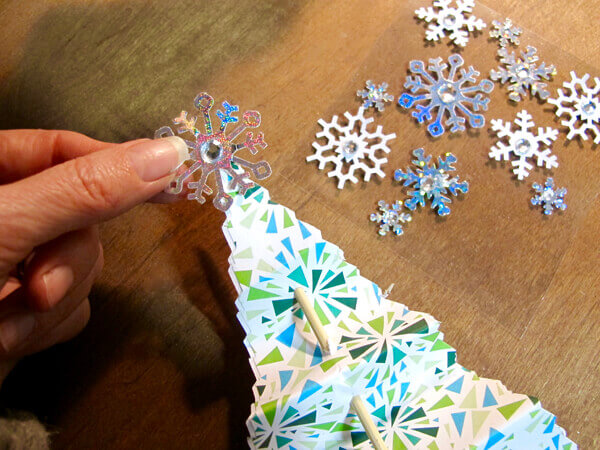
7. Take two sticky stars or snowflakes – one against the skewer and the other against the tip of the paper tree. Push together to keep everything in place.
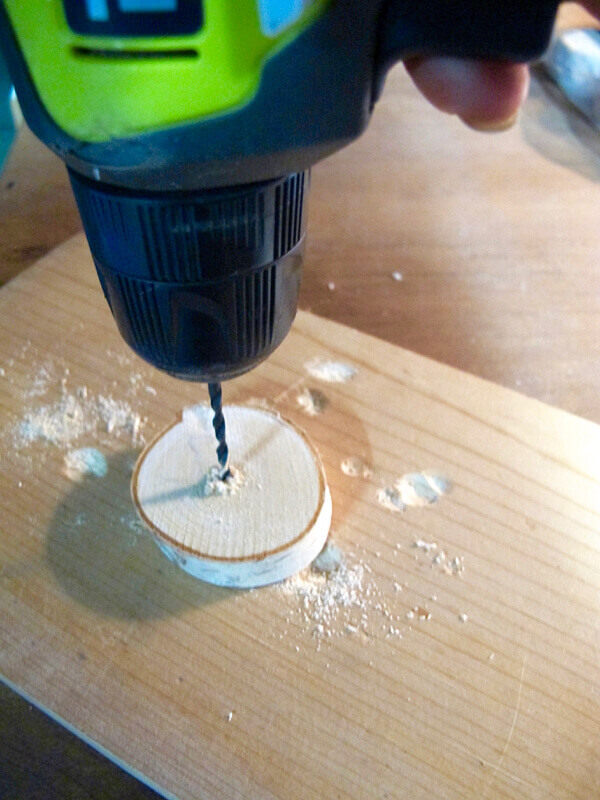
8. Prepare wood base and drill hole in center.
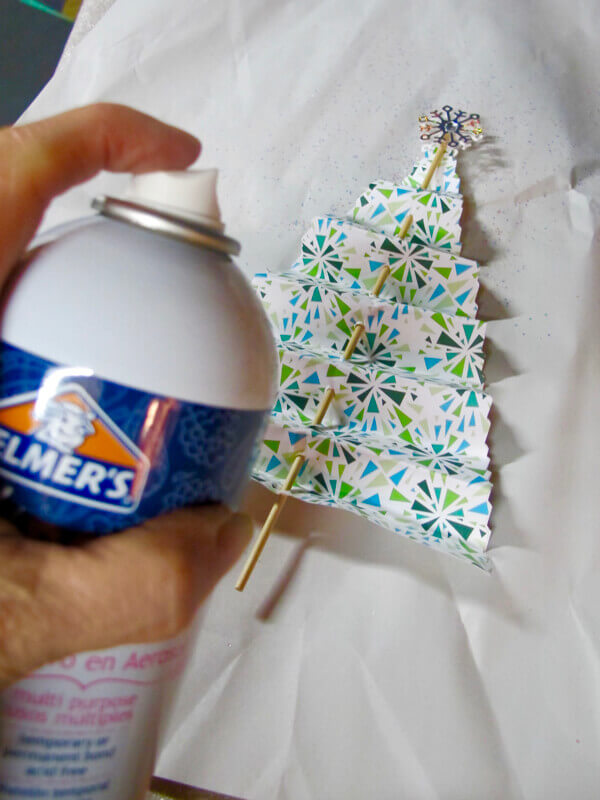
9. Over packing paper or newspaper, apply liberal amount of spray adhesive to both sides of your tree.
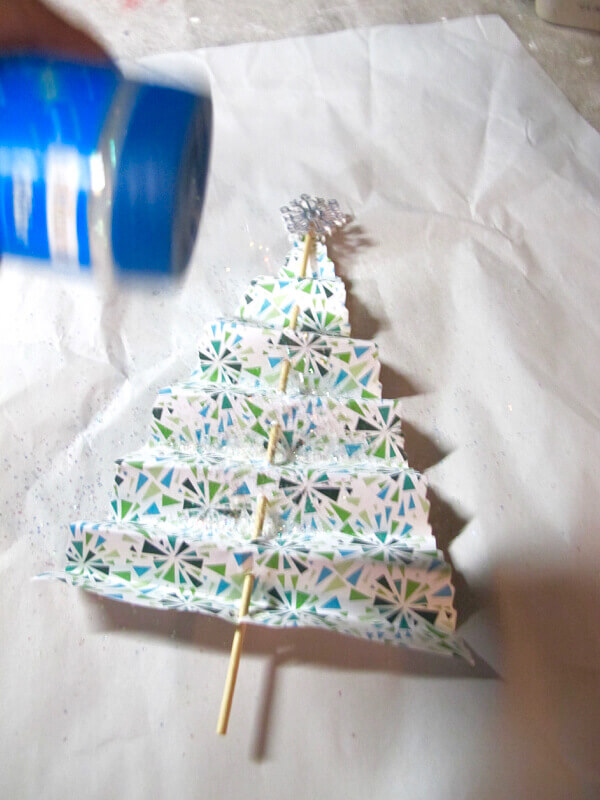
10. Apply glitter, tap off excess and let dry. Tip: sprinkle glitter over a cookie sheet with parchment or newspaper to catch any excess glitter. You can then return it to the jar….waste not, want not!
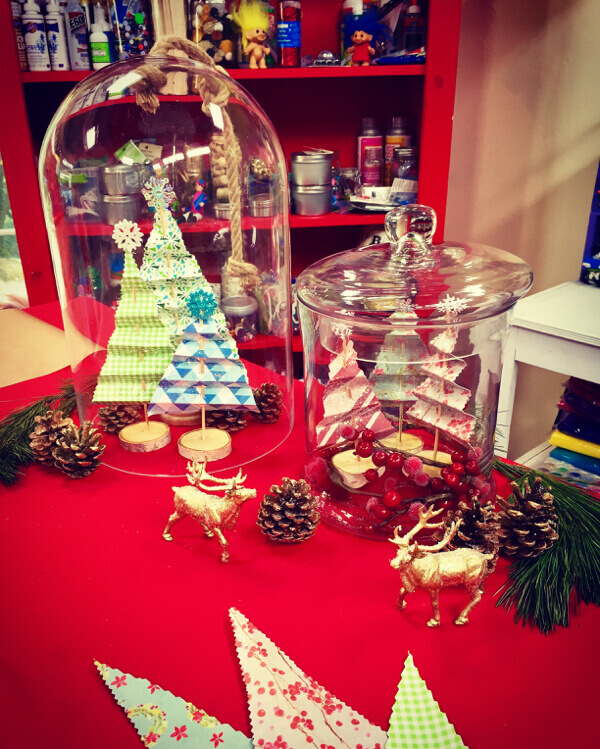
12. Place in glass cloche with pine cones, berry vines, sparkly animals, lights or whatever you wish…then enjoy! Note: you can adjust the height of your trees by cutting the skewer with a pruning sheer.
Note: apologies for the blurriness of a few of these photos…I was in a hurry to get this done for the show the next morning!
EXTRA DIY! Oh-So-Adorable ‘n Easy-to-Craft Glitter Reindeer!
Supplies:
• plastic reindeer (available at any craft store)
• painter’s tarp
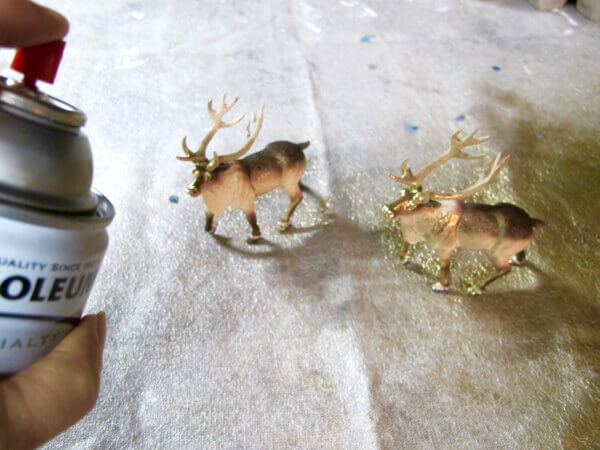
• spray paint (I used Rustoleum’s Metallic Gold)
• spray adhesive
• glitter
Instructions:
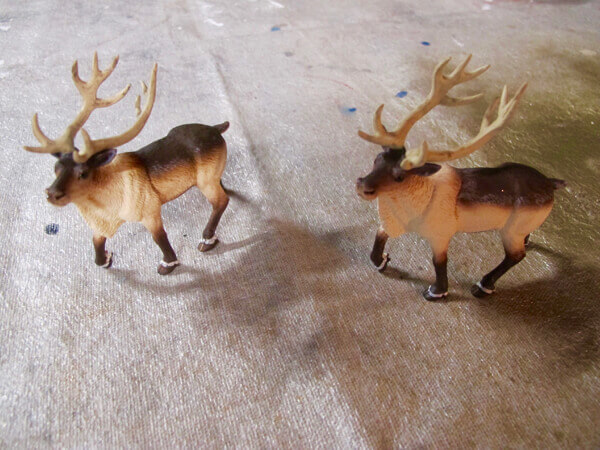
1. Dust off plastic reindeer.
2. Over tarp, spray paint reindeer. First on top, then allow to dry. Then, flip over and paint bottom.
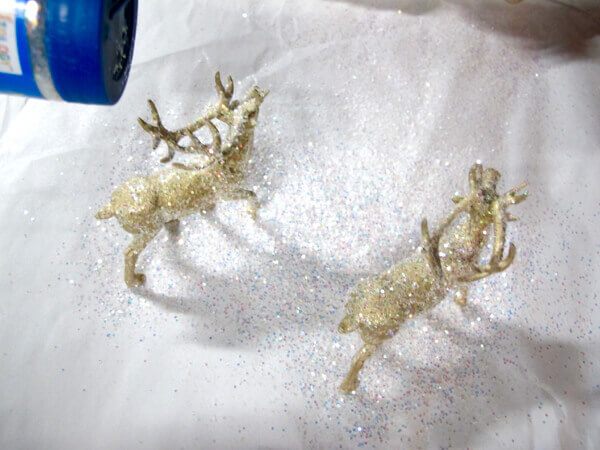
3. Apply spray adhesive all over.
4. Sprinkle liberally with glitter. Allow to dry. Place on a shelf or inside a glass cloche with your scrap paper trees…wa-lah!
All photos (except video and where noted) by Skaie Knox, HomeJelly
