When my cousin, Tom, moved to Minnesota, he left behind his beloved BBQ and a somewhat wobbly bar cart. Time, weather, and a little bit of neglect (sorry, T-Cat!) left this sweet little piece of functional furniture a bit sad and almost unusable: the doors had fallen off, the pull-out cutting board had warped so much it no longer slid out, and the plastic wheels no longer rolled. My husband begged me to throw it out.
Enter DIY stick-to-itiveness!
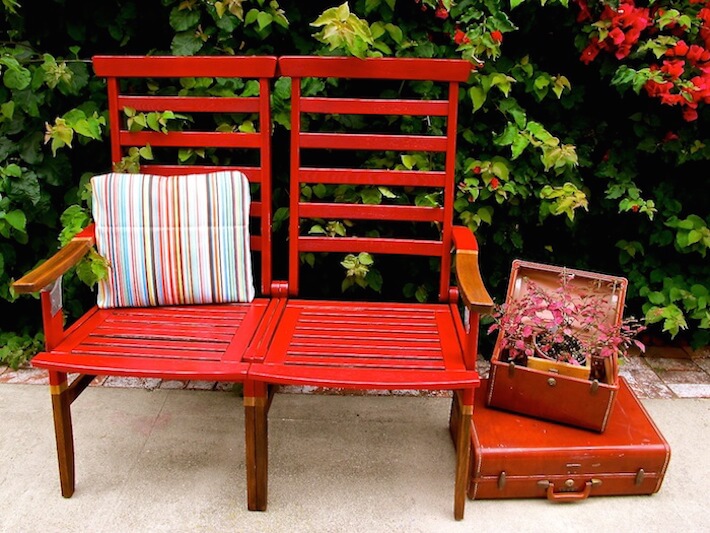
I knew its potential, so, knowing my upcycled curbside chairs bench would welcome a friend, I applied the same design to our cart. I think it worked out splendidly and now we not only use it every chance we get, we’re proud and punch to show it off! Now, let’s party!
See Also: Bar Carts Get a Second Shot Makeover
Supplies:
• ruler
• level
• sand paper (fine – P120 and coarse – P60)
• hand sander and sanding block
• painters tape
• paint brushes
• outdoor paint (I used Glidden’s “Red Delicious”)
• indoor/outdoor poly/stain (I used Varathane’s “American Walnut”)
• outdoor polyurethane
Optional Accessories:
• (1) 12 in. x 1 in. steel cut pipe
• (1) 2 in. x 1 in. steel nipple
• (1) 1 in. x 1 in. iron elbow
• (1) 1 in. iron cap
• (1) 1 in. floor flange
• mountable bottle opener
• hooks
• (4) 3 – 4 in. casters
• wood screws
Bar Cart Refurbishing How-To:
1. Wipe and clean the cart, then remove all the hardware – this seems like a no-brainer step, but, it really makes an overall difference in the process of sanding, staining and painting your piece.
2. Sand all surfaces. For the inside, simply hand sand to roughen.
3. Measure, then tape off your lines. You can use any design or pattern you wish…go nuts!
4. Apply your paint.
5. Apply your stain. Allow all treated surfaces to cure for at least 12 hours.
6. Apply your polyurethane. I applied three coats every two hours.
Note: there are many schools of thought regarding the cure time and if, in fact, one should sand between coats. The general rule is this: if you wait two hours, you don’t need to sand (there is a chemical bond w/in this timeframe). If you wait 24 hours, you should use a fine grain sand paper (220 or finer) and gently sand between coats.
7. Attach your wheels and accessories. Again, what you add is all up to you! Think about what you might need and make it happen!
The Refurbished Bar Cart Results!
Don’t forget e-ver-y surface of your refurbished piece. You’ll have impressive results if you do!
By sanding the back of the cutting board, as well as the slot, I was able to add valuable serving and prepping real estate!
A slight pop of color makes this bar cart fiesta-ready!
We’re now ready to par-tay!
My cousin, Heide created a fabulous summer cocktail for our “It’s Been a Peachy Summer” party. She, of course, had to use peaches and Brugal Extra Dry rum! Here is the recipe:
- 1/2 lime (large, – cut in 1/4” pieces)
- 1/8 fresh ginger (” x 1” slice, – cut in 1/8” pieces)
- 8 mint leaves (large)
- 21/2 tsps organic sugar
- 1 peaches (medium ripe, – pit removed and cut in 1” pieces)
- 3 ozs Brugal Extra Dry Rum
- 3/4 oz Peach Liqueur
- 1/2 tsp bitters (peach)
- carbonated water (or club soda)
- 2 peach slices (as garnish)
It was SO refreshing and flavorful! Ya-mahn!
I even made a couple cart towels that coordinated with my upcycled beach towel patio pillows!
Now it’s Your Turn!
Tell us what you think about this cart and how you might have improved it yourself!
All photography by Skaie Knox, HomeJelly


