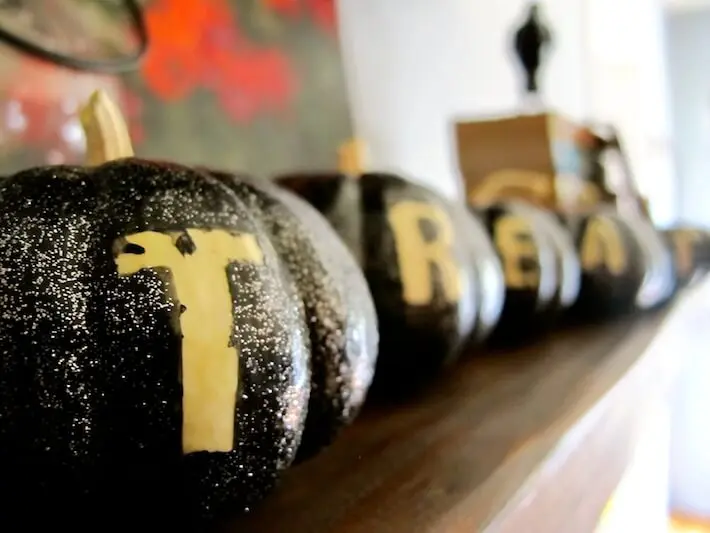
When it comes to hand-made projects, we have the ability to make all kinds of creative items for our home. This Halloween, I wanted to add something custom made, yet something organic. Well, I believe I found the “chocolate-in-the-peanut-butter” solution with today’s how-to: a mini pumpkin Halloween sign.
Not only are mini pumpkins cute, they come in both orange and white. I thought the latter color would be perfect as the “negative space” for lettering, with a painted and shimmering black as the main color for my sign. The reality is, you can choose any color you like. That’s the beauty of do-it-yourself…the outcome is all in your hands!
Let’s do this people!
Supplies:
• mini pumpkins (the number depends on what you’d like your sign to read)
• 1″ stick-on letters (if you’d like to make this with regular sized pumpkins, your adhesive letters will need to be larger)
• paint brushes
• craft paint
• glitter paint (I used Martha Stewart Glitter Paints…not shown above)
Instructions:
Step #1: Apply adhesive letters to your pumpkins.
Step #2: Paint over lettering. Allow to dry. Note: don’t worry if part of the letter raises off the pumpkin. It actually looks better if you don’t have crisp lines…it adds to the “creepiness” of your sign, giving it an authentic Halloweenie look.
Step #3: Cover painted pumpkin with glitter paint. Note: be sure to paint around your lettering unless you’re using a clear glitter. Allow to dry and you’re ready to decorate!
What a T-R-E-A-T!!!
Extra! Extra!
I thought I’d share my Halloweenized bird cage centerpiece…gourds, cob webs, crow and all!
What Halloweenie decorations have you hand-made this year? Do share!
All photography by Skaie Knox, HomeJelly


