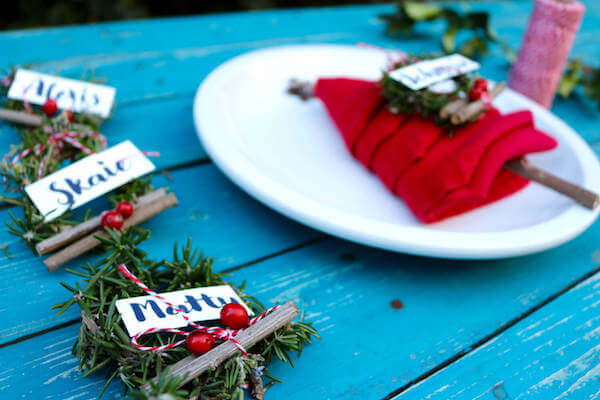
I must love what I do. I’ve committed a crime for HomeJelly in today’s post on how to make mini Christmas name card wreaths.
Weeeeell…I think I did.
Does it count as theft if I snipped twigs of rosemary from my neighbors’ front yards? Wait a minute! In Manhattan Beach’s Tree Section, there exists an “encroachment area” which extends 5 feet into every yard on both sides of the street.
Technically, this is public property. Therefore, since the rosemary bushes I “trimmed” were within this space, I committed NO crime!
Ah, freedom!
But, I digress.
This year, it’s my task to dress our Christmas table. So, after skimming Pinterest, I came across some fabulously simple and doable ideas using (eh, hem!) common things found around your house and neighborhood. You’ll not only impress your guests, you’ll impress yourself.
Seriously, I did!
Watch how I make them!
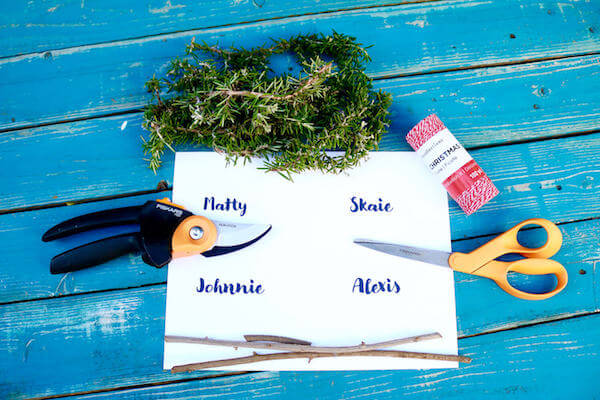
Supplies:
• rosemary – be sure it’s fresh as it needs to be pliable
• string – I love the striped kind found at most craft stores
• scissors
• pruning shears
• twigs ‘n berries
• cardstock paper
Instructions:
1. Cut a piece of string. The length should be approximately the length of your arm.
2. Tie off and knot one end of the rosemary twig. Leave about 2″ of string on one end, the other end should be long.
3. Create a circle bending the other end of the rosemary twig, then wrap 3-4 times with the string. Tie off to secure it in place. Set aside.
4. Using your pruning shears, cut two 1 and 1/2″ pieces of twigs. For a fragrant twist, you can also use two pieces of cinnamon sticks.
5. Wrap the leftover string on your “wreath” around the twigs snuggly 3-4 times, then tie off.
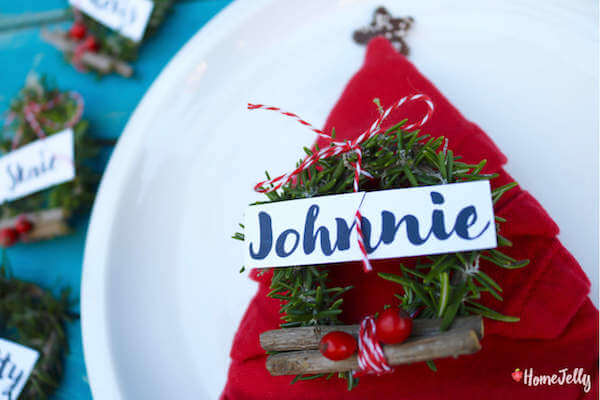
6. Place two berries in between the twigs. Optional: glue them in place with regular craft glue.
7. Cut one more piece of string, approximately 10″ long, then tie a bow at the top of your wreath.
8. Print and cut out name cards, approximately 1 3/4″ wide and 3/4″ tall. Note: I used the “Modern Love” font found at myfonts.com (Ah, Bowie…my ode to you on my birthday my friend!).
9. Cut a small slit in the card at the top, then slide in a piece of the string to keep it in place. Note: These aren’t meant to survive gale-force winds…so no need to go crazy with the glue (Ah! I just got that!).
10. Place on your table or on top of your guest’s plates…or however you wish!
EXTRA: if you do use glue to keep these in place, you may want to add a hanging string to serve as an ornament. Most likely, it’ll only last until the new year, but, your wreath would be a nice reminder of a wonderful holiday!
All photography by Skaie Knox, HomeJelly

