Industrial.
Will this trend ever get tired?
Or is this style this century’s version of sitting at the “cool-kid’s” table?
Speaking of which…
Part of being cool is being aware of your environment, like knowing when you’ve worn out your welcome in a conversation.
Ugh. “Trappers” are the WORST.
It’s also knowing how to be cool without trying to look cool.
Not that I’m an expert on this or anything.
What I know for sure is…when you’re able to make design style choices like this:
balanced style intention + function
= you’re gonna usually end up with cool results.
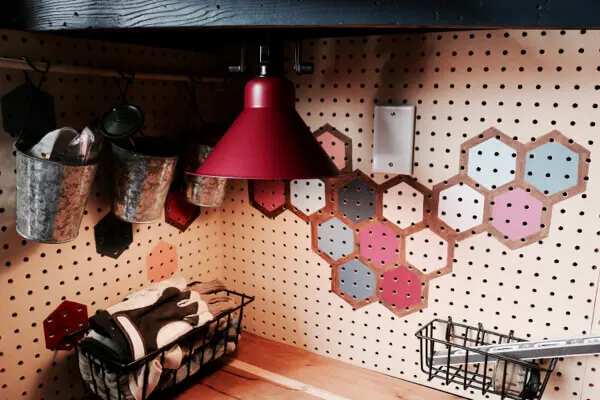
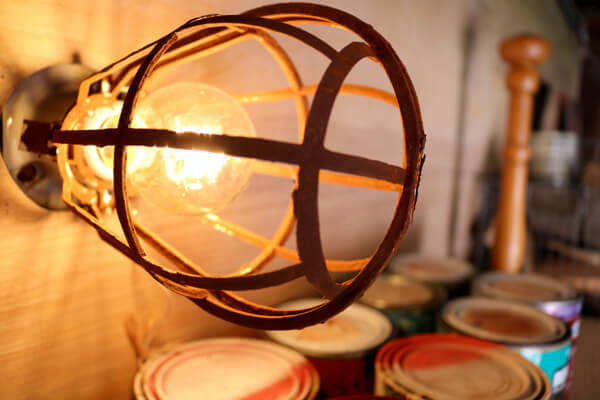
Take today’s post. High above all the shelving in my newly made over garage workshop, there is a single lightbulb light I never used, but knew it could be transformed into a sweet design element.
It’s all in the small details, right?
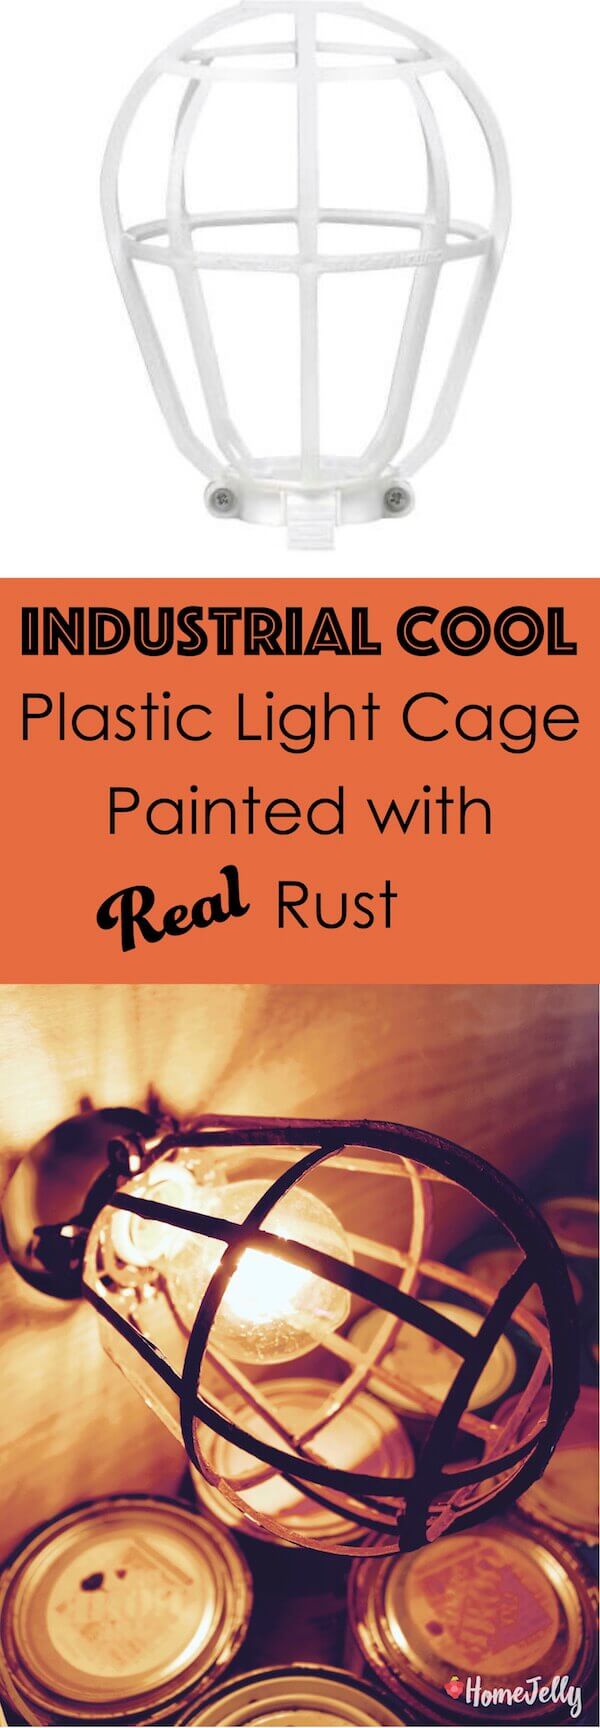
Of course, because it’s my workshop, I thought I’d add some industrial flair. Still, I didn’t want to spend the money to buy a metal cage, so I opted for a plastic one from Home Depot that cost a mere $2.68.
Boom.
Enter, Modern Masters Metal Effects and fellow bloggah from down-undah, Kristine, of the Painted Hive (love this blog!). At first, I thought to myself, “Just because a project works for some people, doesn’t mean it’s gonna work for me.”
Luckily, I fell into the “some people” category, cuz my light looks amah-zing.
What’s awesome, is that the Modern Masters’ reactive iron paint contains real metal and, combined with the rust activator, the chemical reaction creates real rust. The results? No FAUX metal!
How industrial cool is that?
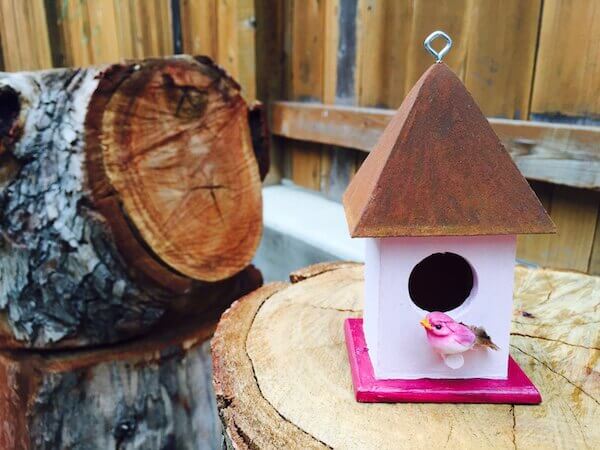
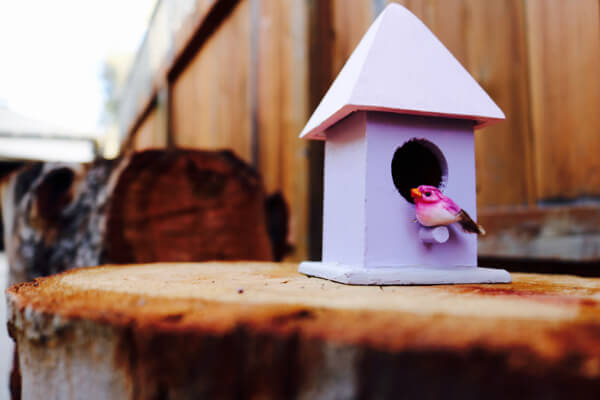
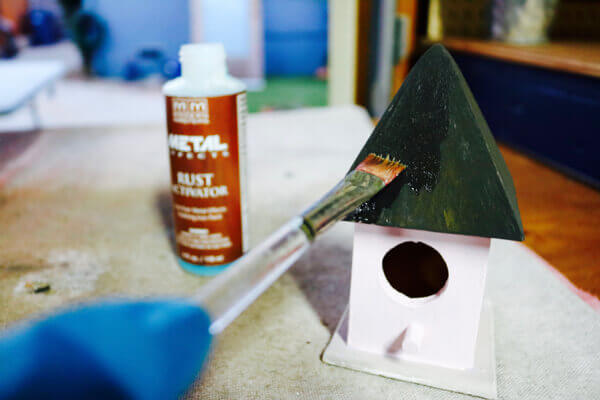
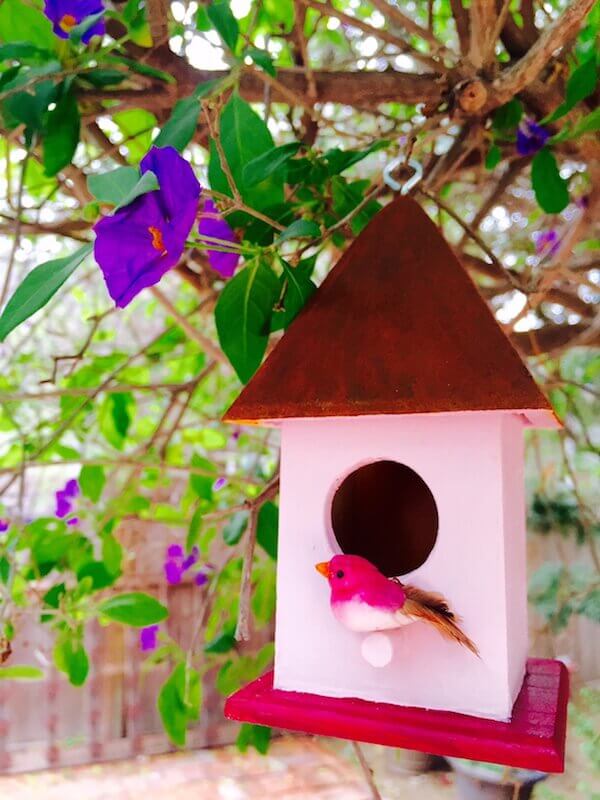
Here now, is the “how-tutorial” (Eh? See what I did there?) on “rustifying” a plastic light cage AND adding a “tin roof RUSTED” detail to a tiny birdhouse.
Here’s hoping today’s post wins me a seat at your table!
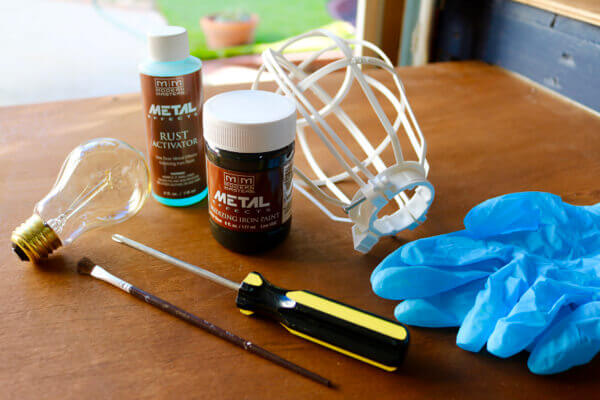
Supplies:
Project 1:
• Modern Masters Metal Effects Primer
• Modern Masters Metal Effects Oxidizing Iron Paint
• Modern Masters Metal Effects Rust Activator
• paint brush
• plastic gloves
• screw driver
• Edison light bulb
Project 2:
• same supplies + a birdhouse
Instructions:
1. Brush TWO coats of primer onto your plastic light cage. I thought I could bypass this step, but, nay…the iron paint ended up having a little bit of trouble sticking to the plastic. Trust me. Spend the teeny extra time and money to do this step.
NOTE: for these paints, the reapply time is 30 minutes, the dry time is 1 hour.
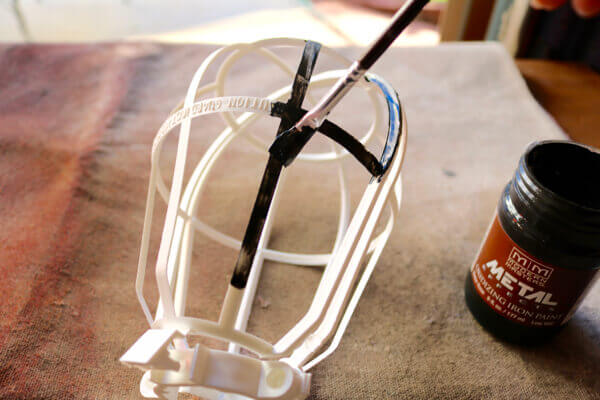
2. Paint TWO coats of oxidizing iron paint onto your light cage.
See Also: How to Make an Old, Gold Light Sconce Look Industrial Mod
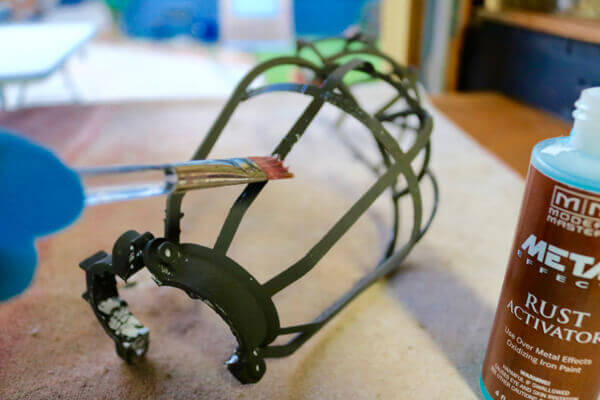
3. Paint TWO coats of of the rust activator over the iron paint. Now, watch it rustify! I let it be overnight and awoke to a beautifully rusted cage. It was like Christmas morning!
4. Carefully attach cage to your light. If you weren’t a dumb-dumb like me who skipped step #1, flaking rust should be pretty minimal. You’re done!
Project 2…the Before:
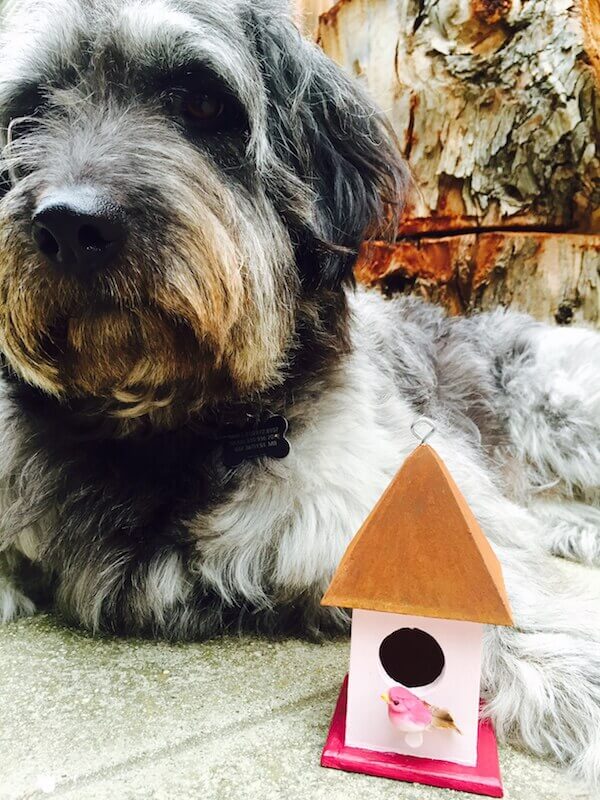
Aaaaand…After!
Now It’s Your Turn!
What would you like to “rustify”?
All photography by Skaie Knox, HomeJelly
