This is a sponsored post that contains affiliate links.
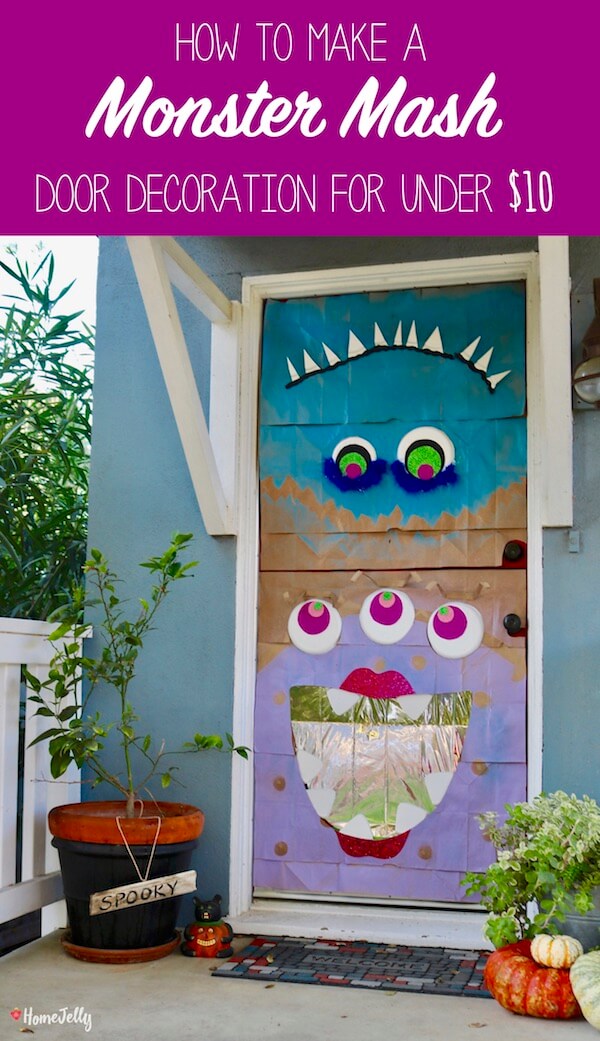
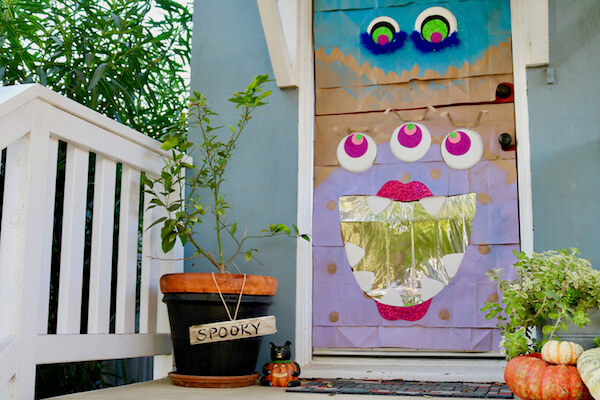
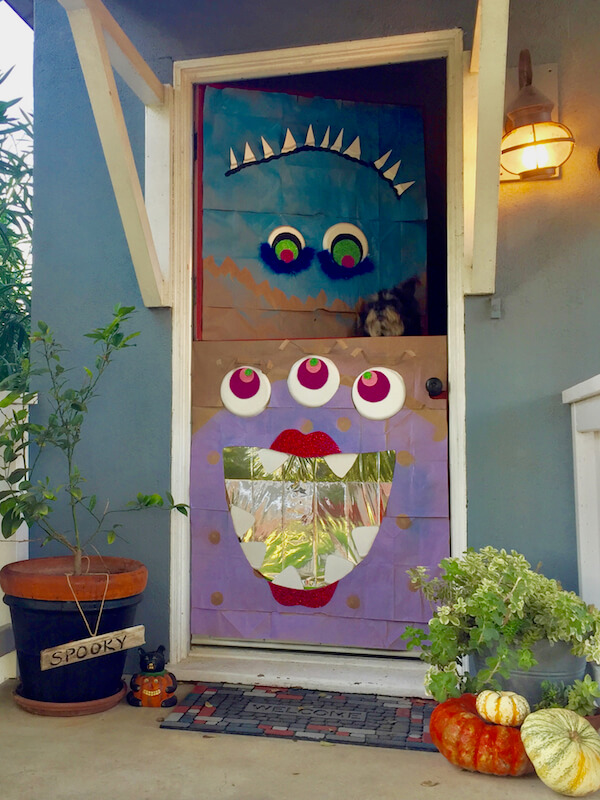
Oh, how I just love this time of year! Especially, when autumn leaves wrestle to the ground and make way for the greatest sound, as kids trudge through yards full of them on their way to school and back again. Upon hearing the return of our neighborhood niblets, I knew it was time to start decorating. And, I wanted to make something extra fun for them to enjoy all month long: A two-monster mash to don our front Dutch door, including a mirrored mouth for Trick-or-Treaters to see their costumes in action!
But, what could I create for under $10?
Yep. This was my challenge this year: to decorate on a dime.
Well, times a hundred, that is!
The key to saving money is to be resourceful and creative, so I took inventory of the things I had around the house: paper bags, paper plates, glue, scissors, painters tape, sparkle paper from a previous craft project, and my handy HomeRight Finish Max Extra paint sprayer.
I then wrote down a short list of items I’d need: mirror paper, more sparkle paper, and Velcro Brand Hangables. In no time at all, I had my supplies bought and collected, my monster designs drawn, and my two dogs, Krinkles and Bear-Bear, ready to join me in some fun Halloween crafting.
Whoooooooooooooo else wants to join, me? Hmm?
Paper Bag Door Monster and Newspaper Candy Corn Door Monster – grab your kiddos and give ’em a try!
Supplies:
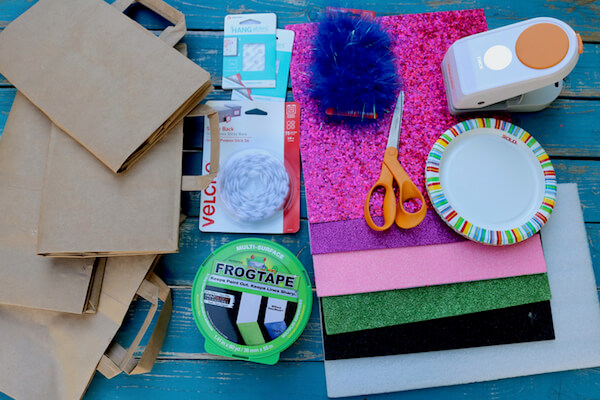
• 6+ paper bags
• scissors
• measuring tape or yard stick
• painters or packing tape (optional Velcro Brand adhesive dots)
• pencil or sharpie
• spray paint or Finish Max Extra paint sprayer (any two colors you wish)
• dessert and dinner paper plates
• sparkle paper (whatever color you wish)
Instructions:
1. Draw your design. Be creative! I searched around for fun monster faces and decided on these, ’cause they made me happy!
2. Measure the dimensions of your front door: using your tape measure, find the length and width of your CLOSED front door and write it down. Note: be sure to measure the part of your door that appears when closed. The paper will last longer if it isn’t being creased and mashed by the frame.
2. Remove handles and flatten out your bag: after carefully detaching the handles, start with the opening of the bag and begin separating the seams.
3. Align your first bag horizontally, then overlap the following 5 bags the height of your door. Tape the rough edge over the top edge of each bag. This will hide the rough edges…unless, of course, you’d like your monster to be rough around the edges! (Ba-dump-BAH!)
4. Mark your door measurements, then cut. NOTE: if you have a Dutch door like we do, be sure to mark the line to cut it in half near the end of your project.
5. Use painter’s tape to create your two monster heads, then paint. Optional: you can add dots or lines with paper or painter’s tape for extra affect.
6. Cut out your sparkle paper eyes, then adhere to the BACKS of your paper plates.
7. Create an eye template out of a cardboard box or paper, mark, then cut out.
8. Pop each eye through your cut holes, then tape each eye to the BACK of your monsters.
9. Taking your paper plates, cut out teeth for both monsters.
10. Create a mouth template out of a cardboard box or paper, mark its outline on your first monster, then cut out.
11. Tape your mirror paper to a separate piece of cardboard, then tape it to the back of your monster, making sure the mirror is aligned with and show through the monster mouth.
12. Using tape or Velcro Brand adhesive dots, adhere your teeth to your monster’s mouth. There is no right or wrong here…have fun with the teeth!
13. Cut out your second monster mouth from your sparkle paper, then adhere the teeth as you press it onto the monster face.
14. Add any embellishments you wish! I added, fuzzy eyelids, bag handle lashes, and sparkly lips.
15. Mount your monsters onto your door. Be sure to cut out the holes for your door knob and deadbolt. Enjoy!
All photography and video by Skaie Knox/HomeJelly
This post was sponsored by I’ve teamed up with HomeRight and am proud to be one of their paid brand ambassadors. I also received a HomeRight product sample to use in this post and have included affiliate links to the tools and supplies I used in this project. My personal opinions are completely my own based on my experience. I wouldn’t have it any other way!
