First, let me say…I will never lay flooring again. At the very same time, while my brother said he would never race another Ironman, I just jumped off his Facebook page where he describes his T-minus 25 days until Ironman Coeur D’Alene.
Still, even with the help of my handy friend, Steve Cowman (who, btw, is also a San Diego firefighter/paramedic-also convenient for any DIY mishaps!), the project had me wishing I had chosen to race with my brother (seriously, it was reminiscent work-wise of our curb appeal makeover).
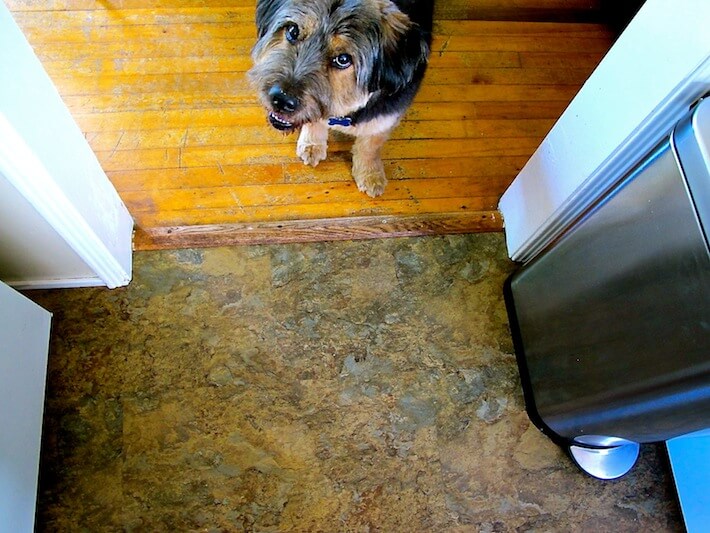
Was it worth it? Heck ya! Our lives have changed dramatically since our new floors! In addition to their beauty, we have absolutely enjoyed their EASE of cleaning, the fabulous and comfy squishiness underneath our tootsies, and how they’ve magically increased the perceived square footage of our wee-sized kitchen and laundry room. Yes, our home is a rental, but the $250 we spent goes a long way (every day) when it brings us this much “joy value”. How’s that for “ROI”?
One other benefit I gained was knowledge. So, I thought I’d share these learning curve experiences and helpful tips with you, in case you’re up for a similar Ironman-like DIY project for your home. In all honesty, yes, it was a tough project, but mostly because I thought it would be easy.
The first tip is this: ask someone to assist you who knows what they’re doing. The product was super easy to lay down once it was measured and cut, and the instructions and online video tutorials were nice, but there’s a lot more “installation minutia” to consider. I’m so glad Steve was here to help. I’d still be working away if it wasn’t for him.
Product Note: working with this vinyl tile flooring product was fabulous! There was no glue required to place them down, they simply fit together via their sticky strips (kinda like tongue and groove), and they were literally a snap to cut-just score with an exacto knife and snap!
In other words, laying this product down was oh, so easy…it was the measuring (oh, the necessary exact measuring) that almost put me in the nuthouse! Also, if we ever needed to remove these floors…no problem! We’d just have to pry them up and, easy-peasy, they’re removed! If you’re interested in knowing the exact product name and where to purchase it, please email me at: [email protected].
I’m hoping this post will help you when installing your own floors, and that you’ll be well-prepared and armed with realistic expectations…just like my Ironman brother…go champ!
Floor installation…here’s what you’ll need:
• vinyl flooring planks
• measuring tape
• utility knife (or vinyl cutter)
• straight edge
• sharp shears (or tin snips)
• nail gun (or finishing nails)
• hammer
• blow dryer (for possible removal of sticky back for awkward corners)
• optional: workbench (there’s gonna be a whole lotta measuring and scoring!)
Here’s what you do:
Step #1: Prep before you start…a day or two before-clean your existing floor(s) as much as possible and trim any linoleum or vinyl edges that have curled. Paint any new moulding the color of your walls or whatever color you wish.
Step #2: Remove all door thresholds.
Step #3: Remove the moulding. (Top left, clockwise) (1) Using your utility knife to score the edge of the moulding makes the job much easier. (2) The multi-purpose paint tool and hammer is great for getting behind tight mouldings. (3) You can preserve and reuse your mouldings by carefully pulling them away from the wall, a bit at a time. (4) Mark the back of the moulding and the same wall with a corresponding number so you know what moulding piece goes where.
Step #4: Start laying down your flooring from a straight wall. Once you get to the end, or need to adjust the tiles to fit, begin by measuring, scoring and snapping your floor tiles. Note: this is the most trickiest and time consuming part of this job…remember the DIY adage: “Measure twice. Cut once.” (In my case, the advice should be to measure thrice!)
(Top left, clockwise) (1) Measure the tile portion ONLY…not the sticky back. (2) use the rafter square (a triangle-shaped straight edge that has a lip you can hang over your table to keep it in place-this was a life-saver for measuring…accuracy is VITAL! (3) Score your tiles using a long, metal straight edge. It will be easier to hold and can withstand your utility knife blade. (4) You don’t need to score too deeply, just enough for the tiles to snap. You’ll get the hang of it!
Step #5: Using the flush cut pull saw, literally and figuratively cut corners so the flooring can fit right in. Simply flatten the very flexible blade so that it is flat and flush to the floor, then cut along the moulding just enough for the tile to fit into the space. Check out this video for a demonstration on how to use this tool. Note: I would only recommend this method for those of you who have “flexibility” with this part of your home. For those of you who wish to preserve the full integrity of your door mouldings, cut the tile to fit around them.
Step #6: Once the floors tiles are done, it’s time to reinstall the mouldings. If you decide to install new mouldings (which is what we did), be sure to measure each wall accurately.
Step #7: Miter cut the mouldings to fit nicely together. Note: be sure to measure your mitered cut lines from the back of your mouldings. The back of your moulding is what will be nailed to your walls. Here’s a video demonstration by Steve:
Step #8: Install your mouldings. (Top left, clockwise) (1) We used 1 1/2″ nail gun nails. You can also use equally sized finishing nails and a hammer…but it’ll take you a bit longer to finish this part of the job. (2) Most homes are framed with 2 x 4s so if you have small mouldings like ours, you can place the nail pretty much anywhere you’d like. If you use larger mouldings, be sure to nail the lower 2″ to make sure it holds onto the inner framework. (3) This will be easier with a second person who can hold the mitered edges together while the other person nails it in. (4) If you have gaps (which, unless you’re a pro…you’re gonna!), use an all purpose caulk to fill them in and smooth with a wet finger to finish.
Step #9: Re-install the door thresholds.
Voila!
How’d we do? Do you like this tile? Tell us what you think!
All photography and the Cowman video by Skaie Knox, HomeJelly


