This is post contains affiliate links.
Yes. It IS possible to declutter your garage FOR-EVER!
How, you might ask? Simple. Follow these 5 steps, along with a most INGENIOUS numbering system, and you’ll have a garage that is perpetually organized, leaving neighborhood looky-loos (you know who you are!) green with garage-organization envy!
Supplies:
• Gloves and breathing mask
• Broom and dust pan
• Rags and multi-purpose cleanser (Simple Green is fabulous!)
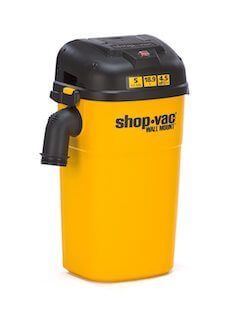
• Shop Vac
Optional:
• dolly
• Plastic Bins*
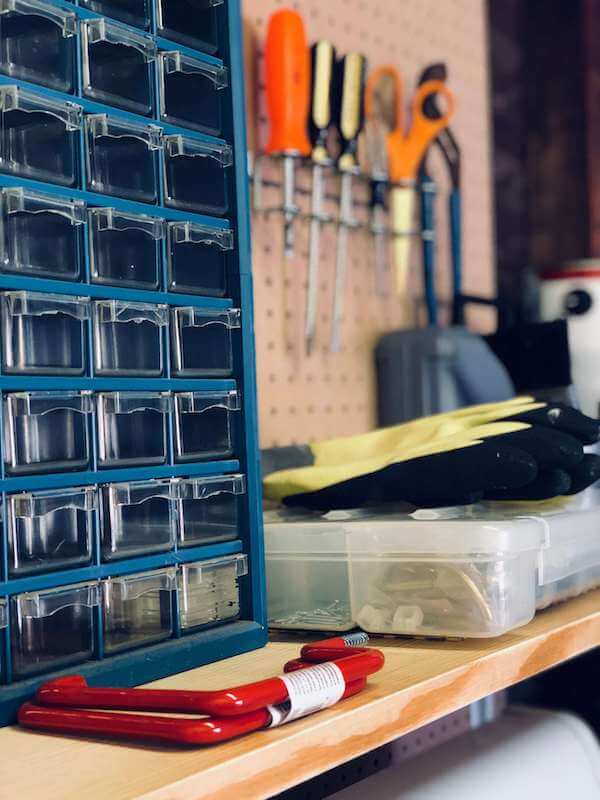
• Hooks
• single shelves
*TIP!: be sure to declutter FIRST before going out and buying all kinds of organizing supplies. You’ll have a much better idea as to what you’ll really need.
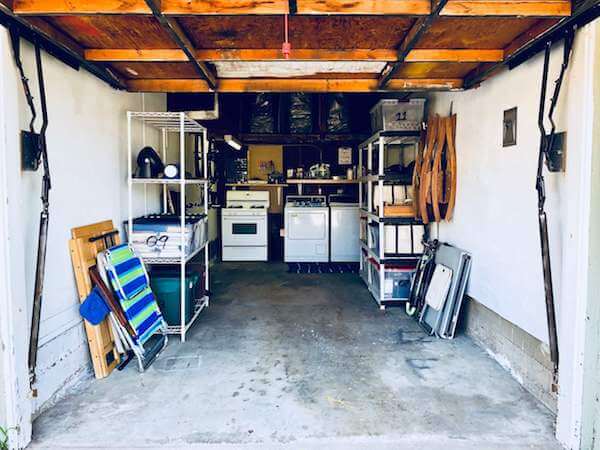
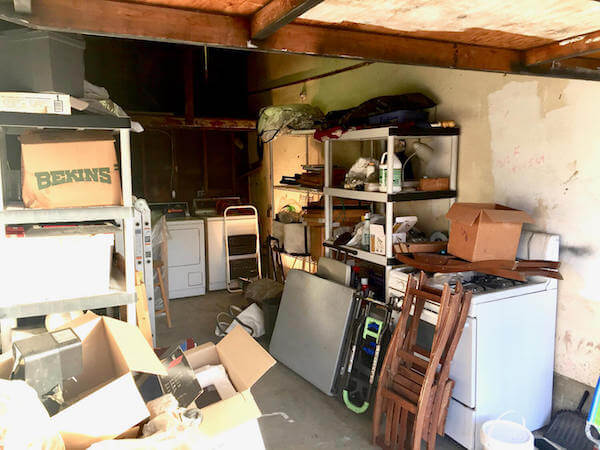
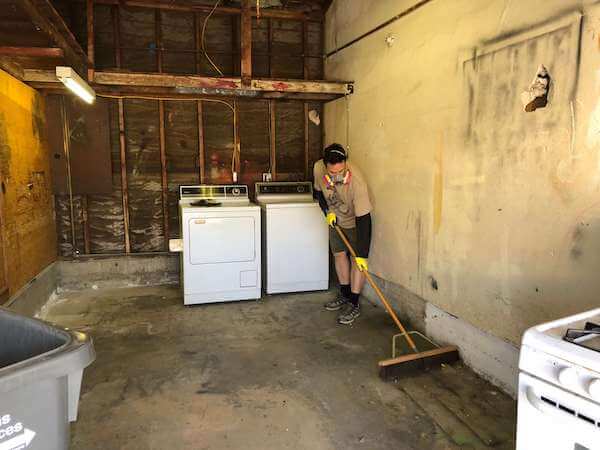
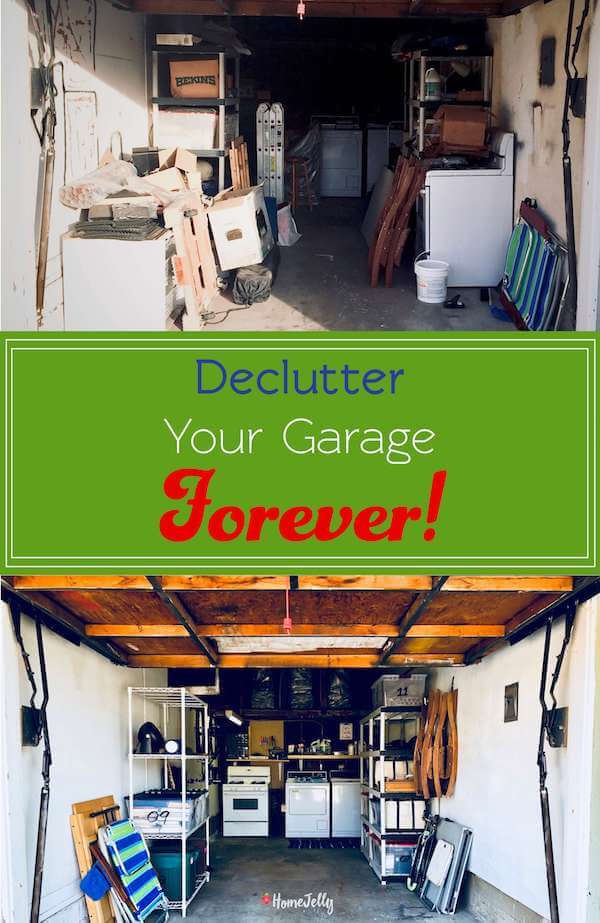
My twin brother, Ian, had 8 years of clutter in his garage:
He had had enough, so we rolled up our sleeves and got to it following these steps:
Instructions:
Step #1: Clear and Clean
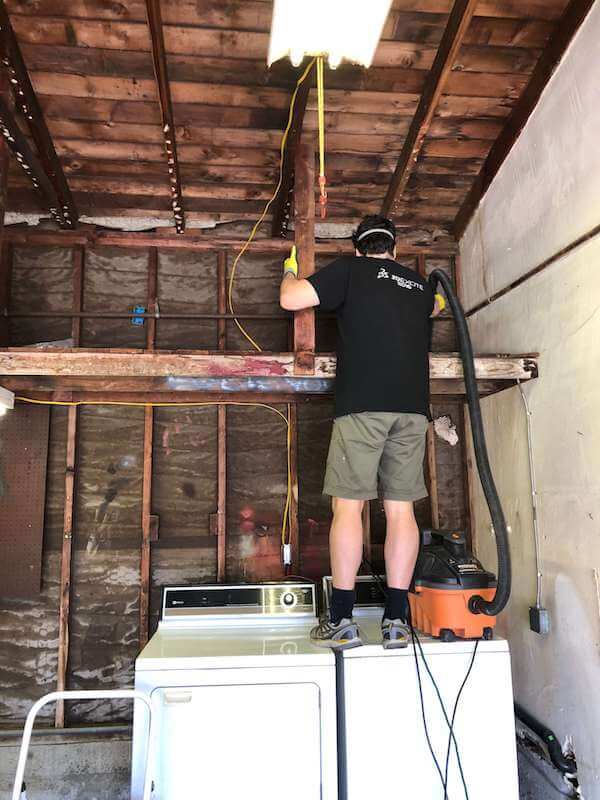
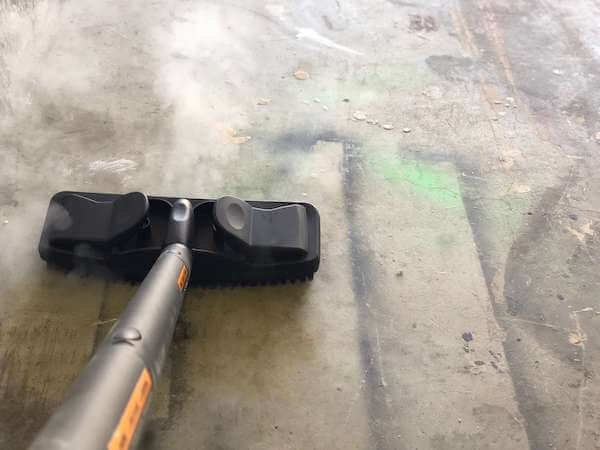
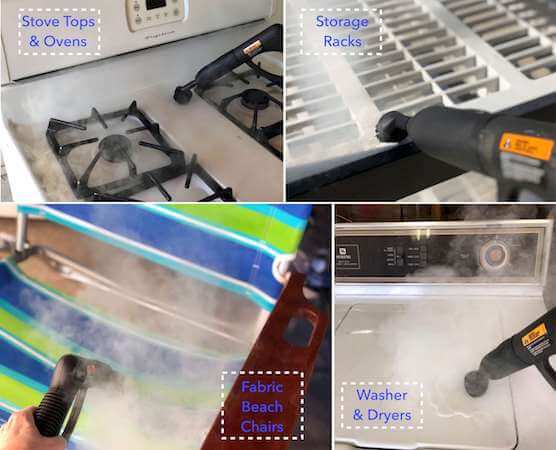
Here’s where you’ll spend MOST of your time. It’s essential to do this step well, as it is the foundation for a wonderfully decluttered garage! Use equipment such as a dolly to clear, brooms, shop vacs, and a steam cleaner to clean.
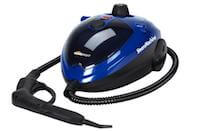
We used the HomeRight SteamMachine 53 to really sanitize and deep clean several surfaces and even fabric. Since my brother had a rodent problem, this really came in handy. Read my review and handy tips on how to use this steam cleaner and how it changed his life!
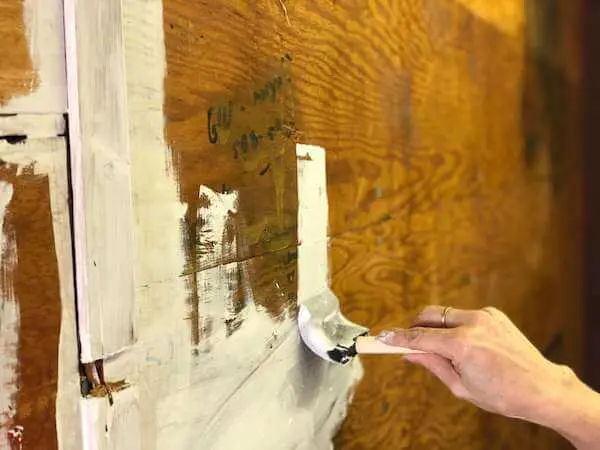
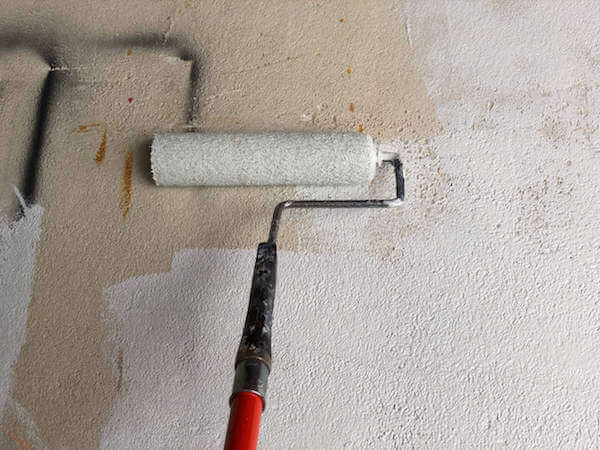
Step #2: Give Walls A Refresh With Paint
This is the quickest and often the most effective way to motivate yourself to KEEP the clutter organized. When you have a space that looks nice, you want to keep it that way. Here, I finally rid my brother’s walls of their previous “crack-house” motif.
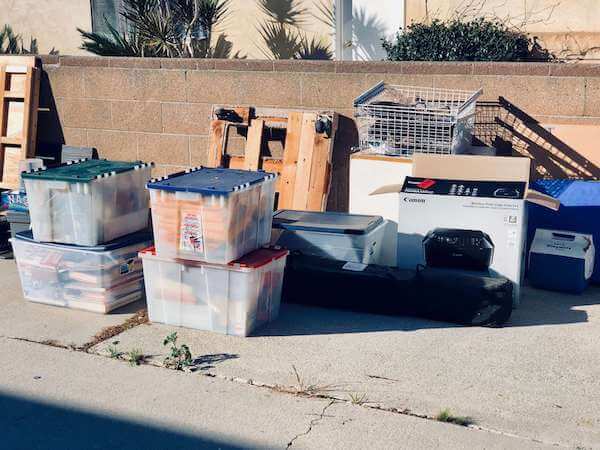
Step #3: Sort Your Stuff
It’s so much easier to sort your stuff OUTSIDE of the garage. You’ll want separate your clutter into FOUR different groups:
• Keep: start by asking yourself if you really need a particular item. TIP!: have a friend or family member help you with this process. I continued to ask my brother questions like, “Will you REALLY ever use that again?” or “When was the last time you actually used that ____?” and “Is it worth it to hold on to that _____, or can you just take a picture to create a digital version/keepsake (photo, award, memorabilia, etc.).”
• Donate/Give Away: there are many organizations who would so appreciate your clutter! You can easily go online and schedule a pickup. Another option is to post a “curb alert” (a FREE stuff announcement) on Nextdoor.com. This is an awesome app that’s like Facebook, but only with your neighbors.
• Sell: this one is a bit of a double-edged sword. My brother had several items he wanted to keep to “sell later”. (Uh-huh. Or will you?) Unless you’re super motivated, have the time, or need the extra Hamiltons, you may want to weigh the monetary benefits against the potential for making a case for keeping unwanted clutter.
If you’re not sure, take a photo of the items, then post it on Nextdoor. An easier option than craigslist thanks to easy access and a certain amount of built-in trust and accountability.
My overall thought? Donate it! Unless it’s a high-priced item, the small amount of money is not worth your time and garage space.
• Trash/Recycle: my favorite! Well, recycling that is. Do your best to sort any stuff that can be recycled, even fabric. For the rest of it, let it go. TIP!: be sure to separate out E-waste and hazardous materials like paint, motor oil, cleaning solvents, etc. You’ll need to dispose of these items safely. Consult your city’s waste management office for locations near you.
Step 4: Create a Numbered System to Inventory Your Stuff
Our cousin Tom came up with this system several years ago. My younger self thought it was organizing-overkill, but now? It’s GENIUS!
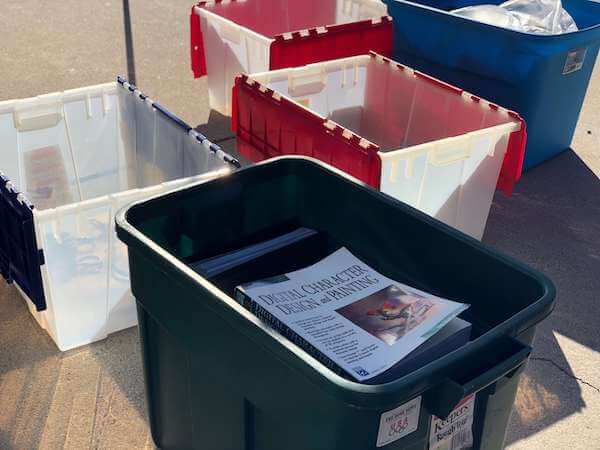
A. Once you’ve sorted your stuff and identified your KEEP pile, begin separating your items into categories:
• books
• sports equipment
• art supplies
• kids school work (archived)
• Christmas/Holiday ornaments/decorations
• camping supplies
etc.
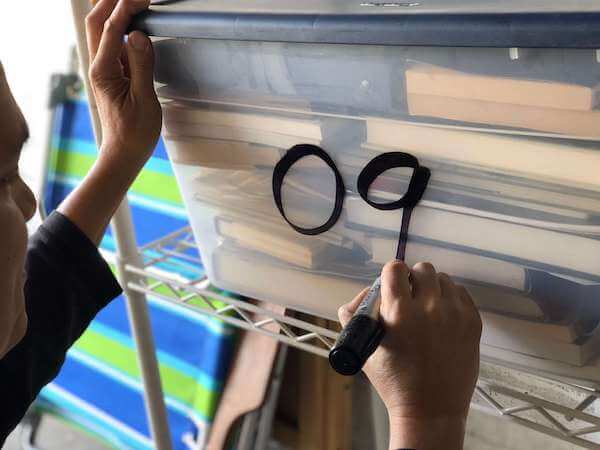
B. Place grouped items into plastic bins (to properly preserve and keep rodents out).
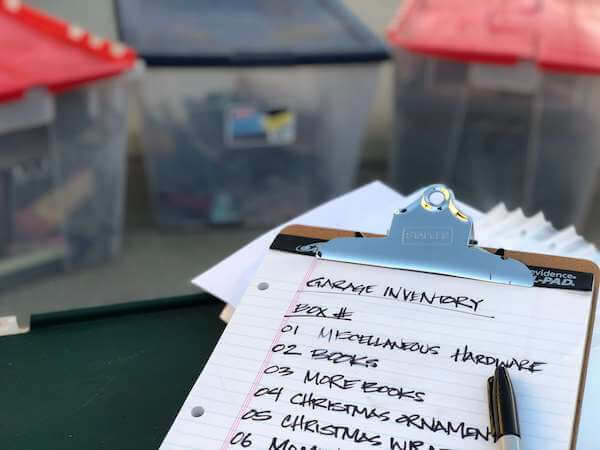
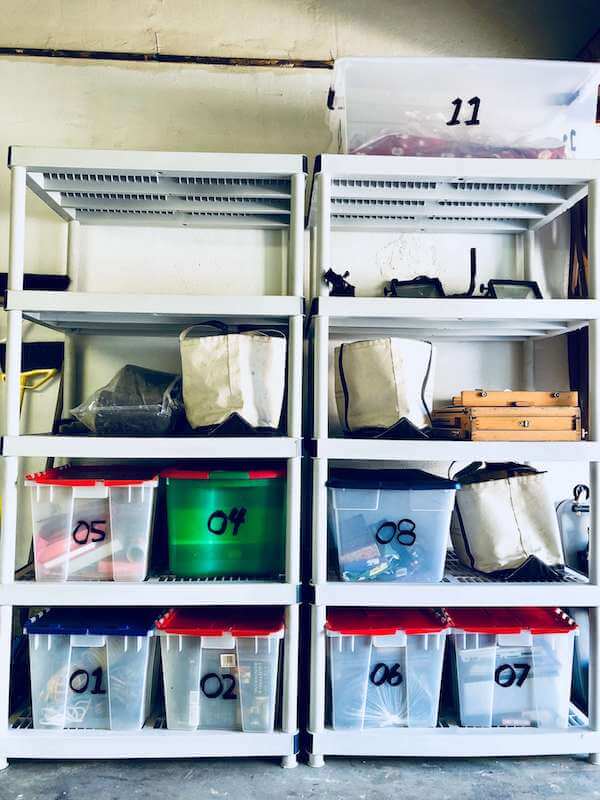
C. number each one.
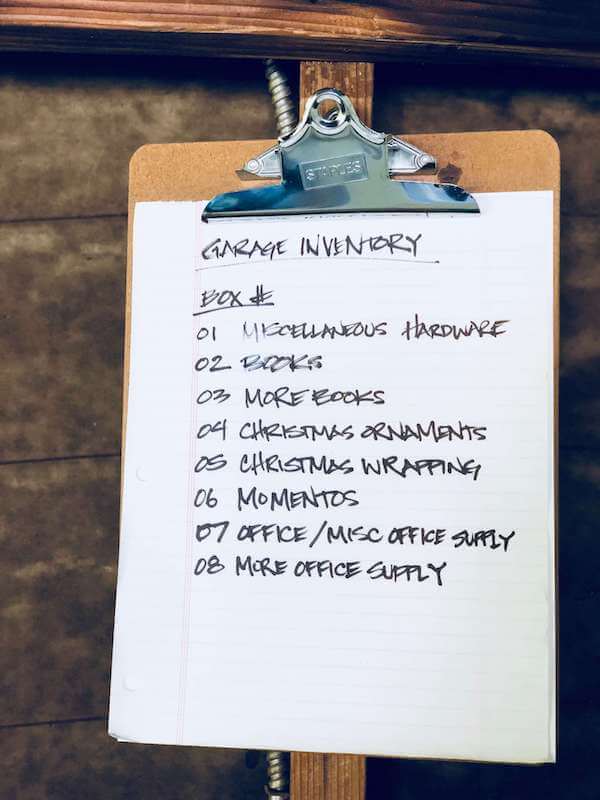
D. Be sure to created a written inventory list and keep it hanging in your garage for easy access and locating.
Now that you’ve decluttered, sorted and created a fabulous numbered-bin organization system, you may want to take your cleaned garage to the next level!
Extra Step #5: Hang Shelves and Hooks
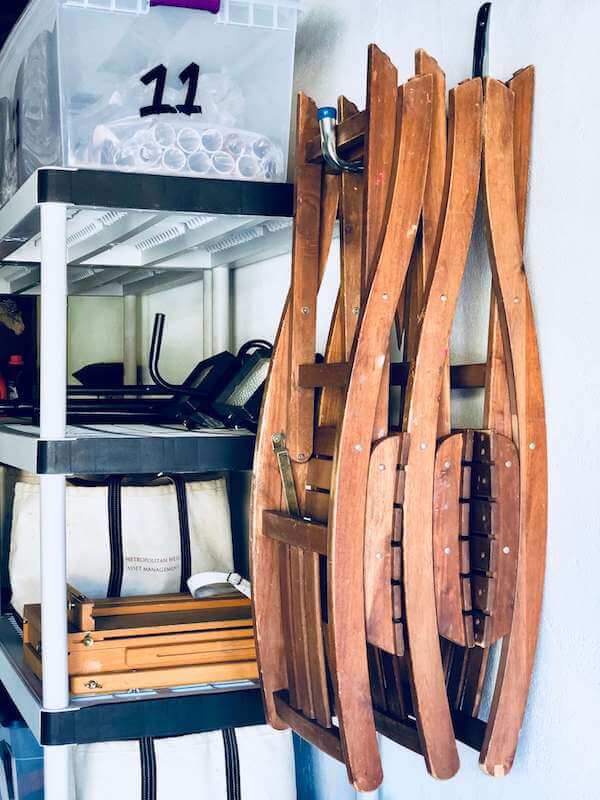
Usable floor space equals added square footage in your garage, so why not go vertical when it comes to storage? Here are some ways we freed up the floors of my brother’s space:
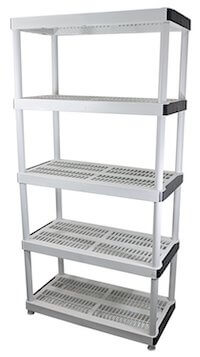
A. Add portable shelving – this is the easiest way to keep your bins and other items off the floor and easy-to-find. We love these moveable shelves, as they are light but mighty!
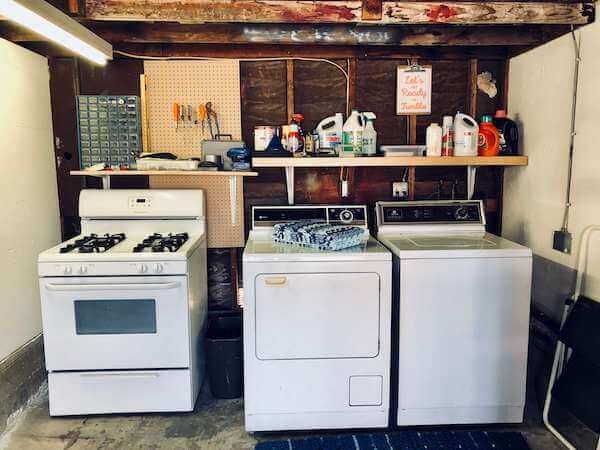
B. Single shelves keep often-used supplies within reach and organized.
C. Hooks add instant de-cluttering power!
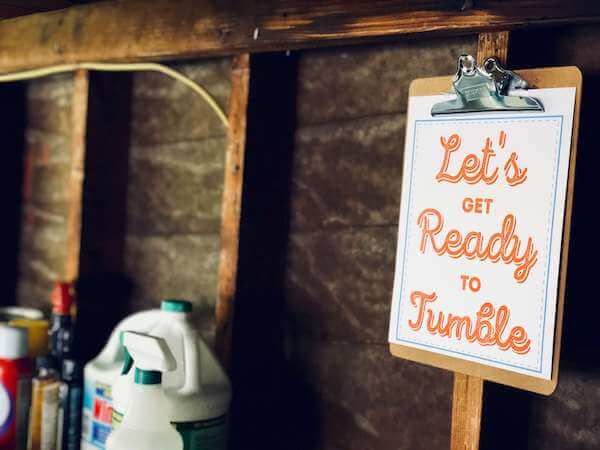
D. Add fun and/or colorful decor like signage or rugs.
Grab this FREE downloadable Let’s Get Ready to Tumble laundry sign!
Check out another one of my brother’s AMAZING “Before and After” projects: visit his new bedroom and office organization and SWAP with 3 simple stay-organized tips and tricks to help make over your home space, too!
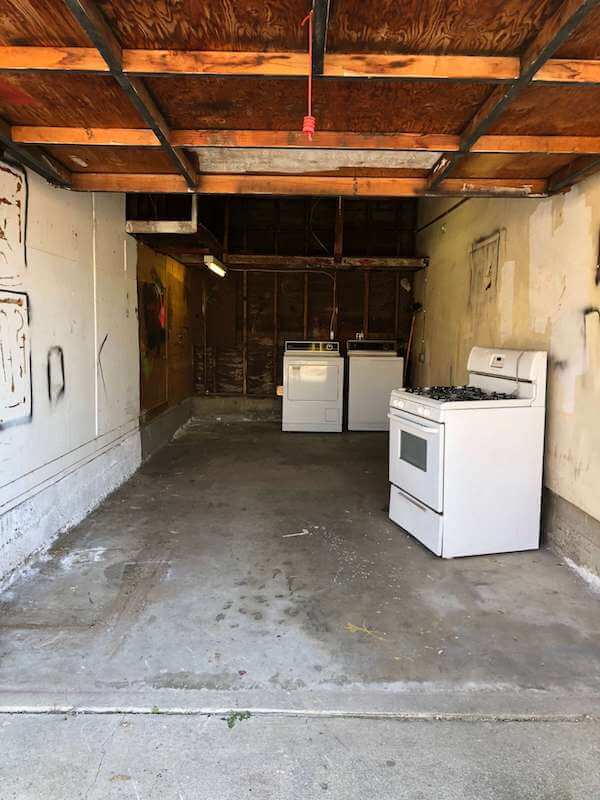
Here is the AFTER!
Once we completed our decluttering, we decided to go to our local charity donation drop off instead of scheduling a pick-up. We left tired, but with a lovely and well-deserved donation receipt.
As I drove away, I could hear my brother repeating to himself how awesome his newly decluttered garage made him feel, “I can’t believe it. I just can’t believe it.”
My work was done.
What garage decluttering tips might you have to add?
This post was sponsored by I’ve teamed up with HomeRight and am proud to be one of their paid brand ambassadors. I also received a HomeRight product sample to use in this post and have included affiliate links to the tools and supplies I used in this project. My personal opinions are completely my own based on my experience. I wouldn’t have it any other way!
