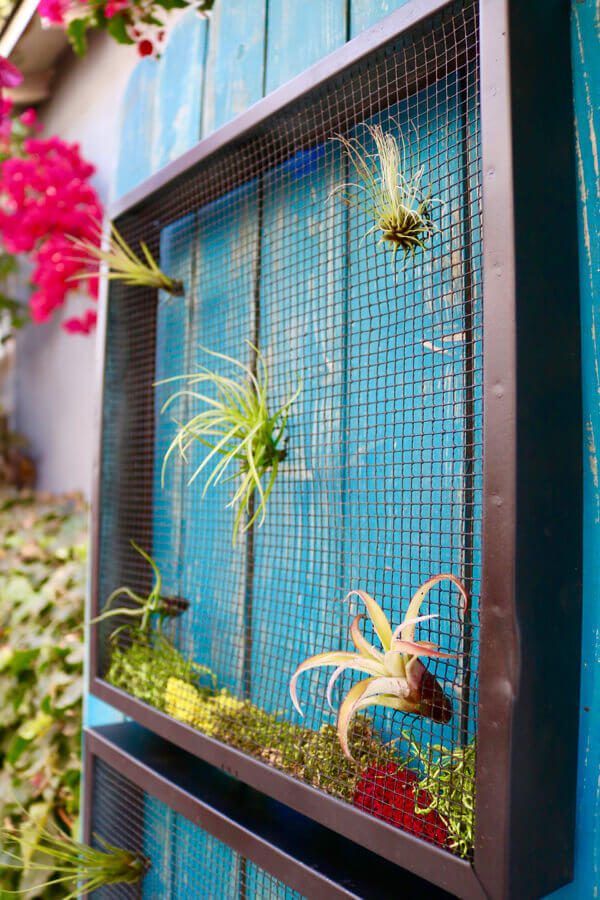
Air succulents.
Hmm.
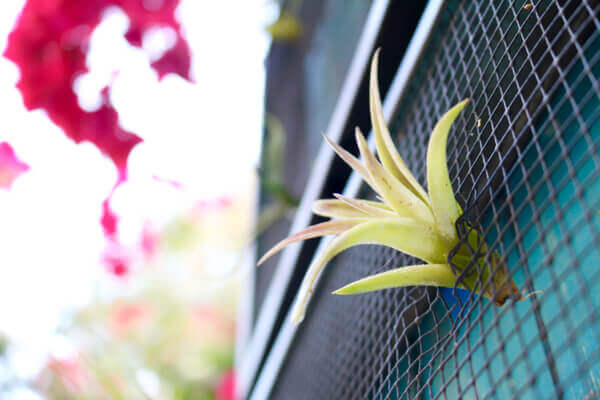
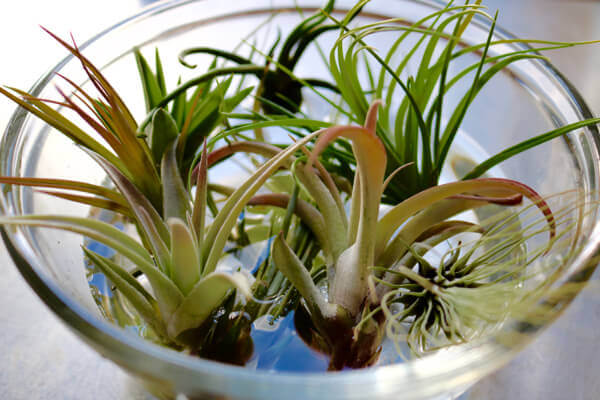
It’s almost hard to believe. But, yes…these succulents can actually exist in the air, without soil.
How?
They actually absorb the nutrients they need from dust, decaying matter in the air (yeah, I don’t even want to think too hard about that one) and from watering – a spritzing with a spray bottle once a week (2-3 for best results) is all they need, along with a good 2-hour dunking every 2-3 weeks will keep them happy. I love and learned a lot from this air plant care post which goes into lots of detail for us green-thumb nerds.
Now, on to today’s project!
Recently, I was given the honor of becoming one of HomeRight’s DIY Experts! I was also thrilled to learn they have recently developed a small version of their spray shelters – yay! I knew exactly how I was going to test it…
On a not-so-recent walk with Krinkles, we happened past my neighbor’s garage sale. It was around noon, so by this time, she was practically flagging people down just to TAKE her leftover bric-a-brac.
See also: Prune ‘n Plant Your Way to Sensational Succulent Terrariums & Containers
I nabbed a tin star that I recently made over (coming soon), as well as two metal trays that I originally wanted to make into side tables.
Yeah, I’m a bit of a fickle DIYer.
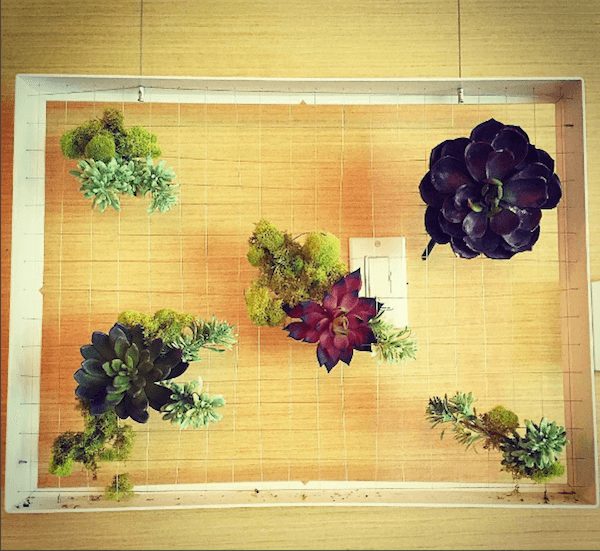
Then, a couple months ago, my sister-in-law, Whitney, came up and stayed at the Shade – a local boutique hotel here in Manhattan Beach. I saw these hanging in one of their conference rooms, and BOOM! I knew how I was going to repurpose those metal trays!
I was thinking what y’all could use and thought a picture frame with chicken wire would absolutely work perfectly (coming soon). I had to modify my trays, but it was very easy with the help of my hand-dandy tin snips.
But, I’m getting a bit ahead of myself…here, now, is the how-to:
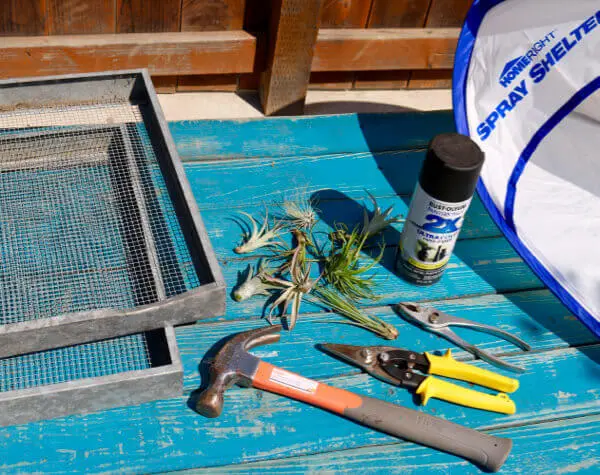
Hanging Air Succulent Planter Supplies:
• hanging trays
• air succulents (I found mine on amazon, 10 for $24.50)
• spray paint (I used paint and primer, flat black)
• spray shelter
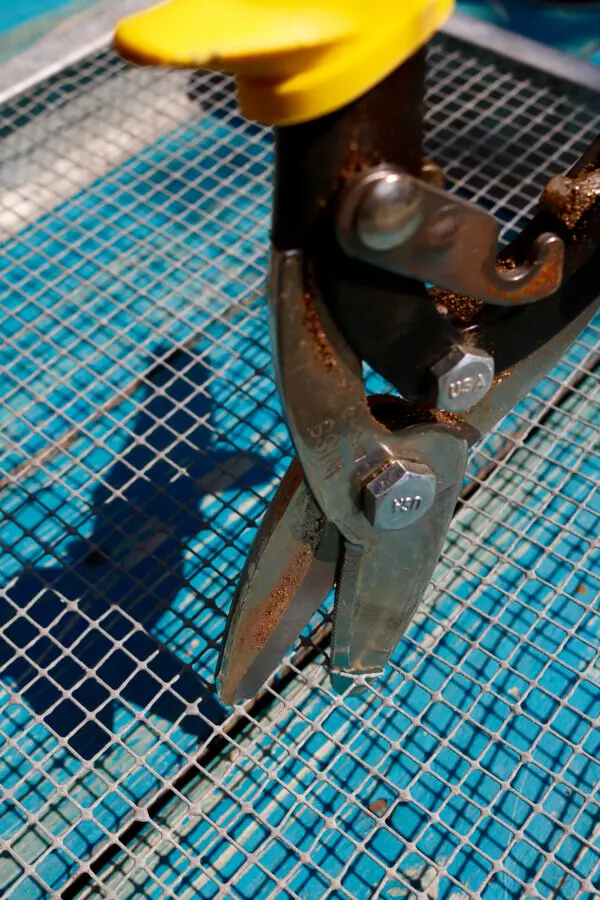
• tin snips
• hammer and pliers
• card table and tarp (or newspapers)
Optional:
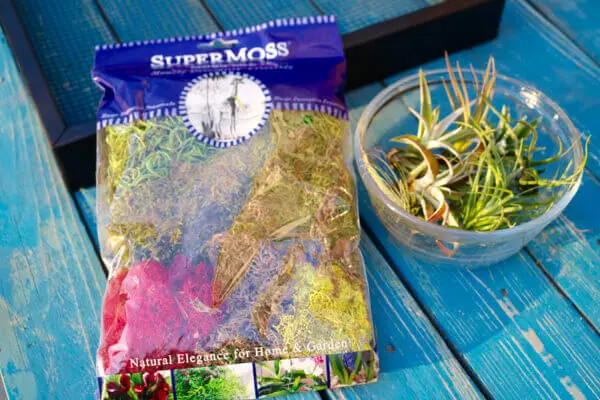
• ornamental moss (you can find at craft ‘n floral stores – my 2oz. bag was from amazon for $13.49)
Instructions:
1. Soak your succulents. To give them a good start, soak them for a couple of hours – you never know how long they’ve been without water. Shake off any excess water, then allow them to dry. Luckily, they’ll have lots of opportunity to dry out in this vertical planter.
2. Clean/Dust surface of tray.
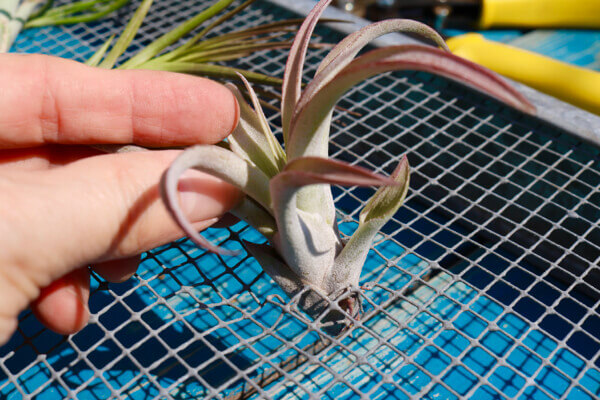
3. Create holes for air succulents. If you’re using chicken wire, you probably won’t need to do this step. If you’ve got a smaller metal mesh material like mine, you’ll want to use your tin snips to create larger openings to stick your plants through. Use your pliers or to bend the metal back. If your tray frame is bent anywhere, use your hammer to form back into the shape you want – or leave as is!
Note: test out each hole with a succulent so that it’s not too big or too small.
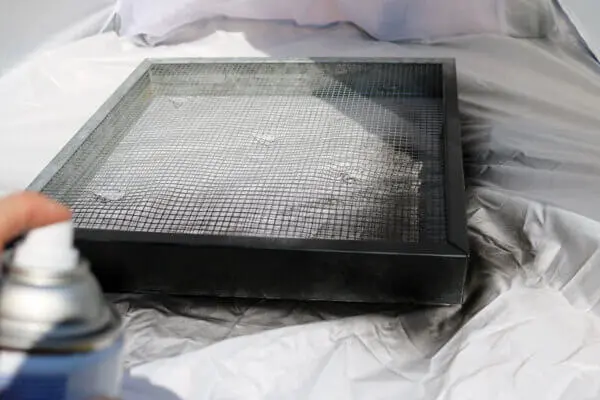
4. Spray your succulents tray. Then, allow to dry.
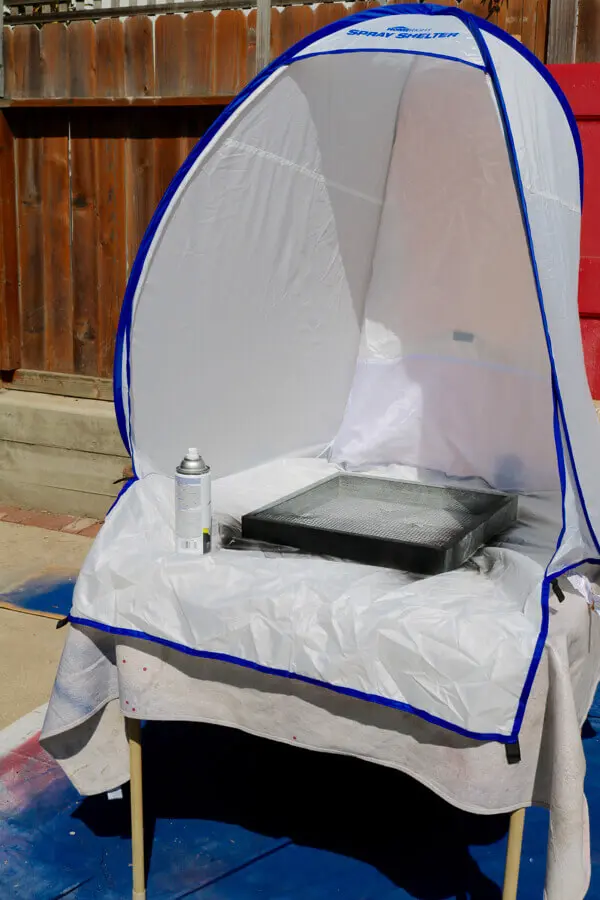
I used my new HomeRight small spray shelter and LOVED it! It opened up almost automatically and fit perfectly on top of a card table. I’m guessing the product designer did this on purpose…so clever!
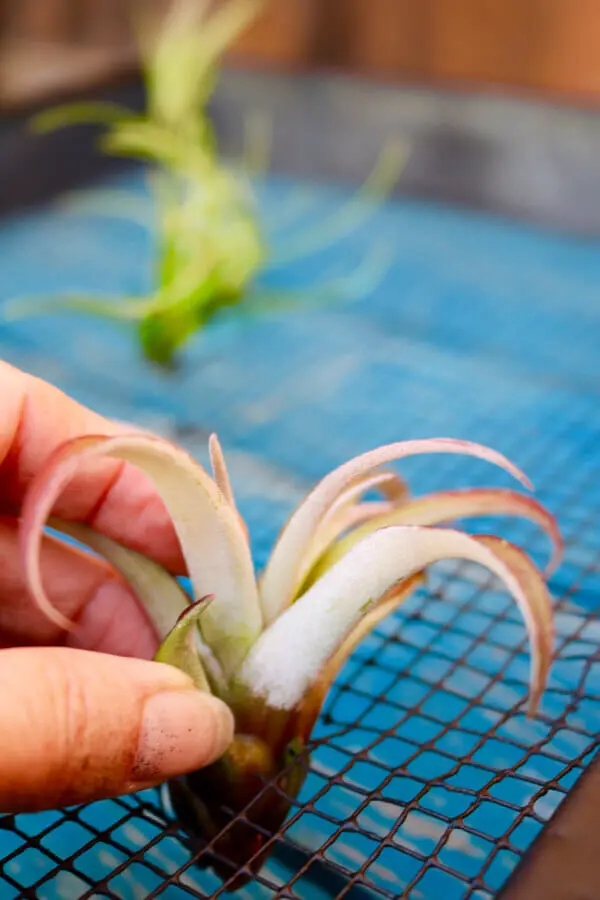
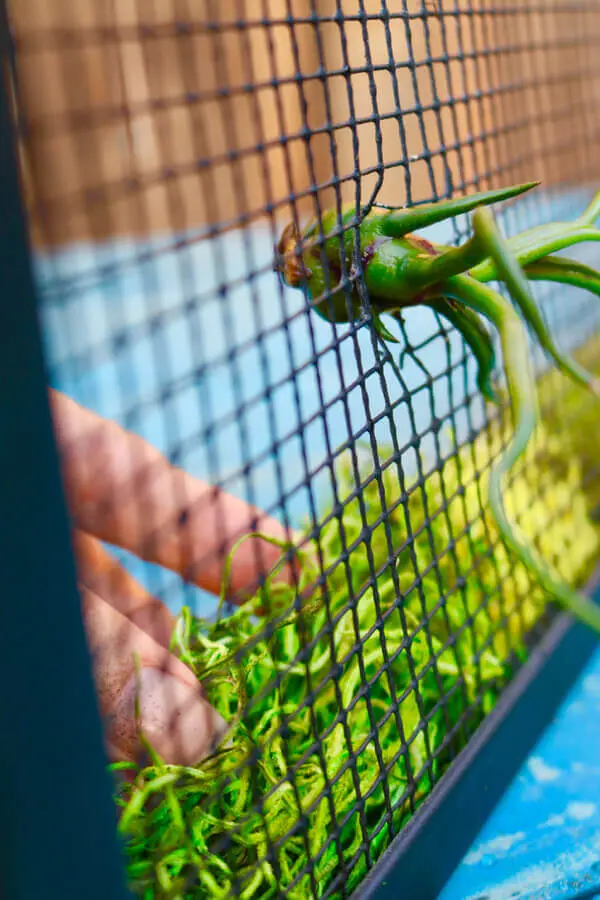
5. Insert your succulents. No wire, glue or soil required! Easy – breezy!
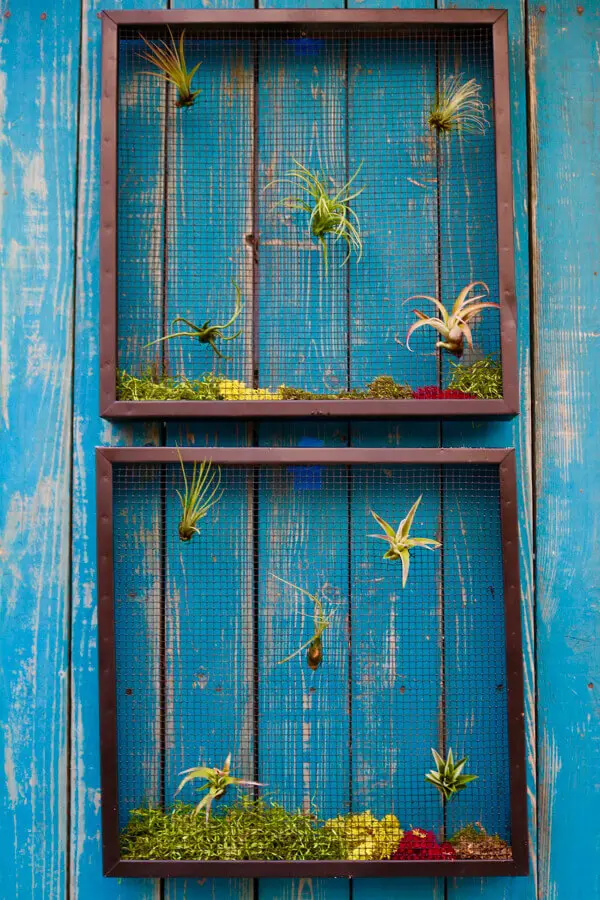
I added some decorative moss at the bottom to create a little drama.
You’re done!
