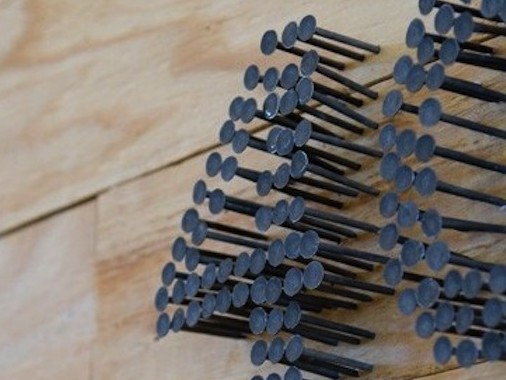
The very nature of DIY suggests “doable”, a word that perfectly describes today’s “how-to”. With a simple supply list and about one to two hours, you’ll be able to proudly display your house numbers with bang on rustic charm.
Here’s what you’ll need:
- plywood or OSB (oriented strand board)
- sand paper
- scissors
- number template
- pencil
- nails
- hammer
- drill
- mounting screws
- wall anchors
- industrial adhesive
Here’s what you do:
- Sand smooth any size plywood to accommodate your house numbers (i.e. 6″ x 10″ would fit our three numbers, but you can choose any size you’d like).
- Cut out numbers template and trace onto plywood.
- Mark with dots in rows of two or three, or randomly within the traced number to nail in nails.
- Hammer in the nails. Tip: use needle nose pliers for those tight spots and to keep fingers clear.
- Mount house numbers to wall. If applying to:
- siding: apply house numbers with industrial adhesive. Use duct tape to keep in place while glue dries.
- brick or concrete: Watch this “How’s It Hanging” video for easy instructions.


