Bundt cakes. Who knew we’d fall so deeply in love with them?!? I mean, the second a Nothing Bundt Cakes shop announced it was Coming Soon to our neighborhood, I thought, “Here today, gone toDAY!”
Despite my prediction, five years later, this fabulously delicious, albeit one-hit-wonder, bakery is still going strong, and I’m about $1,000 poorer and 5 pounds heavier thanks to them.
Seriously. Thanks NBC. (Translation? Sense the tone.)
Though I’ve developed a somewhat strained, love-hate relationship with bundt cakes, a happy accident has occurred! On my last visit to one of my favorite Habitat for Humanity ReStores (located in Orange County, CA), I eyed a pan that definitely needed some tender care.
Yep. It was quite used and had probably produced many a bundt cake, which is what drew me to it in the first place. There’s nothing like repurposing something super used into something super new! And useful at that!
Boom!
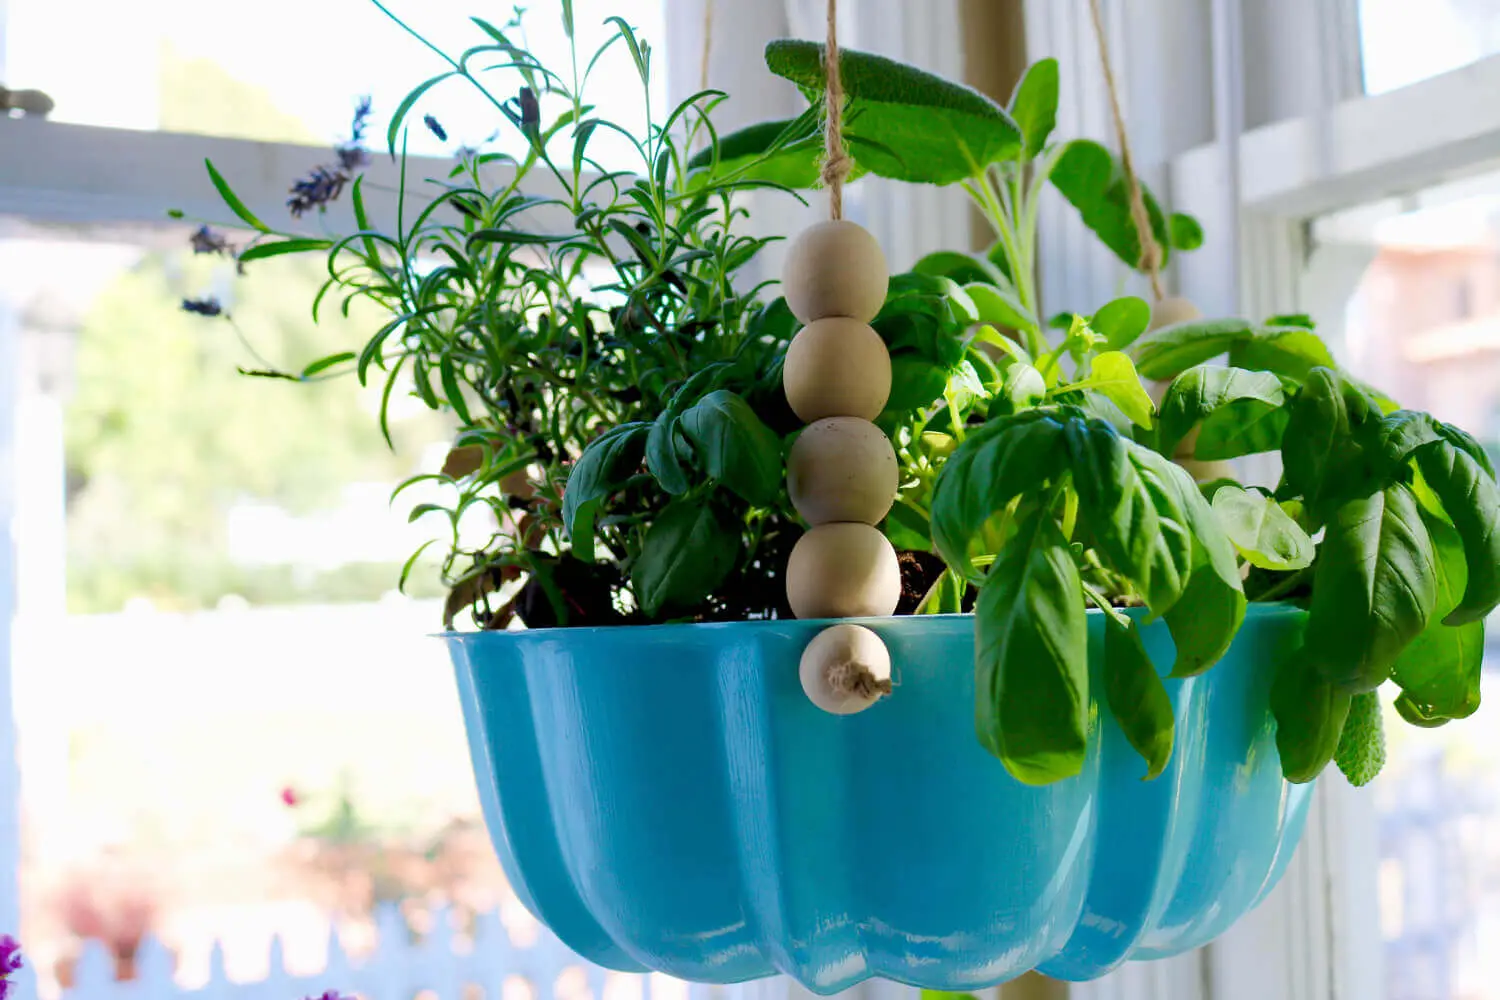
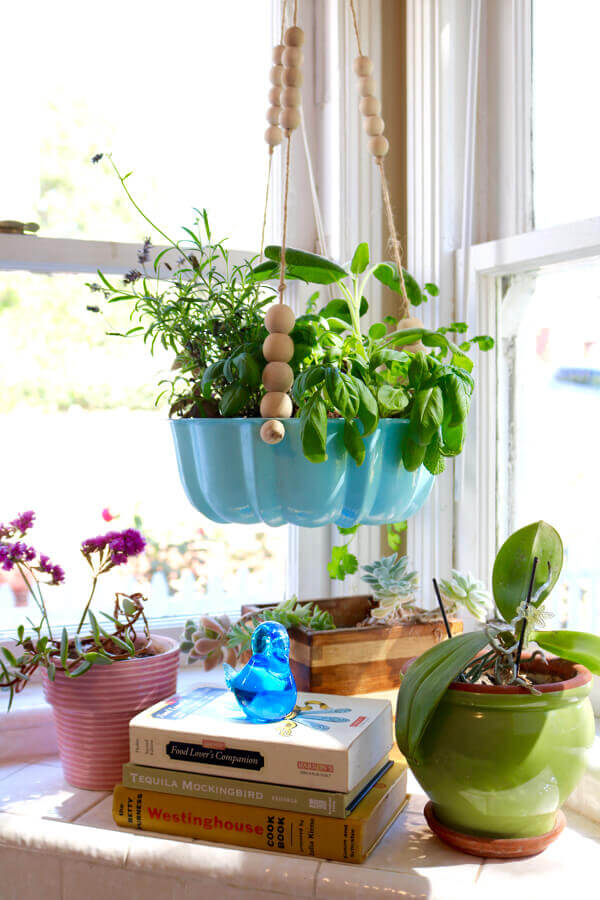
I thought y’all would love to make one for yourself, as this project was super-duper easy and cost me all in around $15 including the five herbs – cilantro (ole!), basil (green and purple), sage and rosemary.
Now, I can love bundt cake PANS, too!
Materials:
• bundt cake pan
• drill and 1/4″ drill bit
• paint/paint brush
• twine
• wooden beads
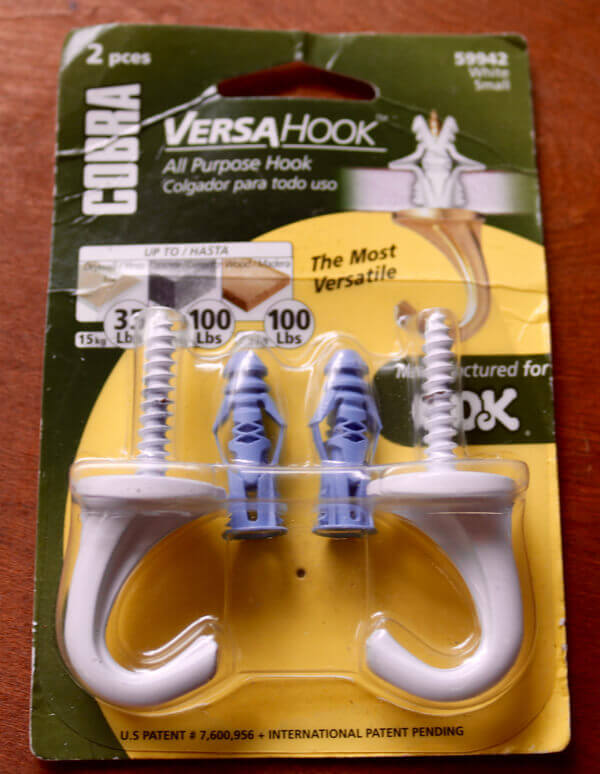
• all purpose hook
• optional: 3/4″ loose leaf ring
Instructions:
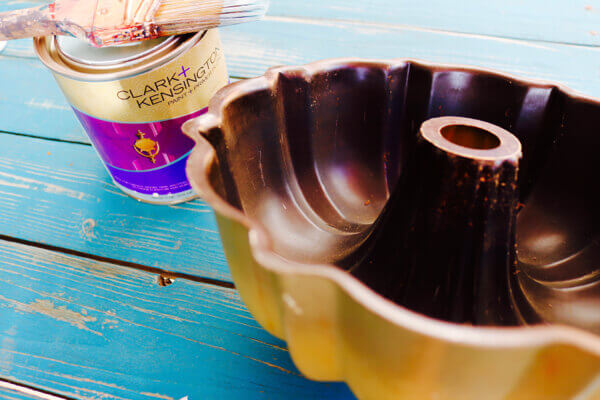
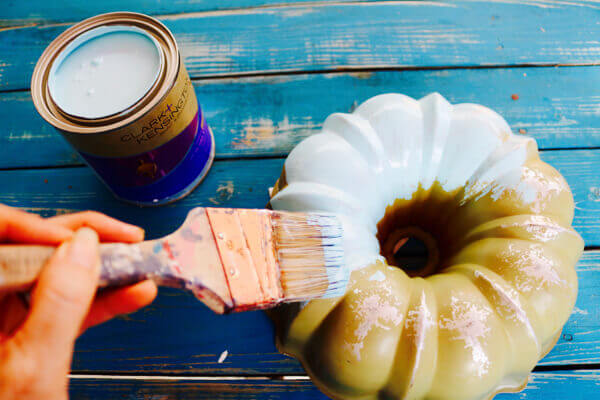
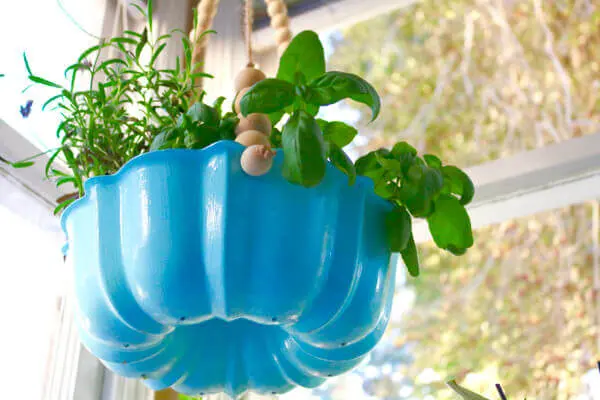
1. Clean, then paint outside of bundt cake pan. Allow to dry at least 2 hours.
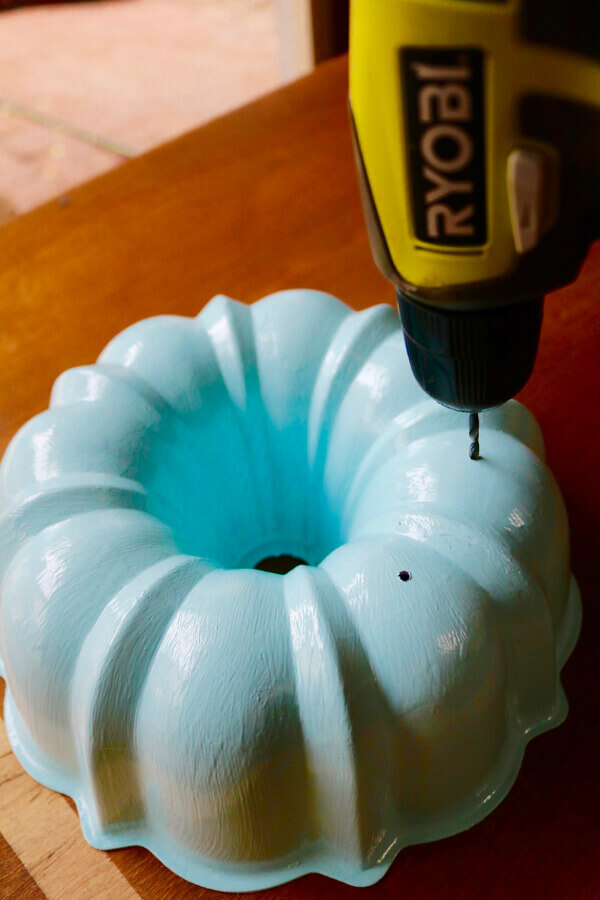
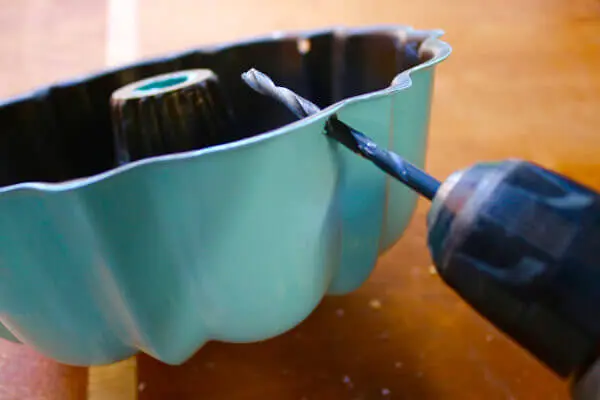
2. Drill drainage holes. Space about 2 1/2″ apart and use at least a 1/4″ inch for proper drainage.
3. Drill 3 hanging holes. Use a 3/8″ bit in order to easily thread your twine through.
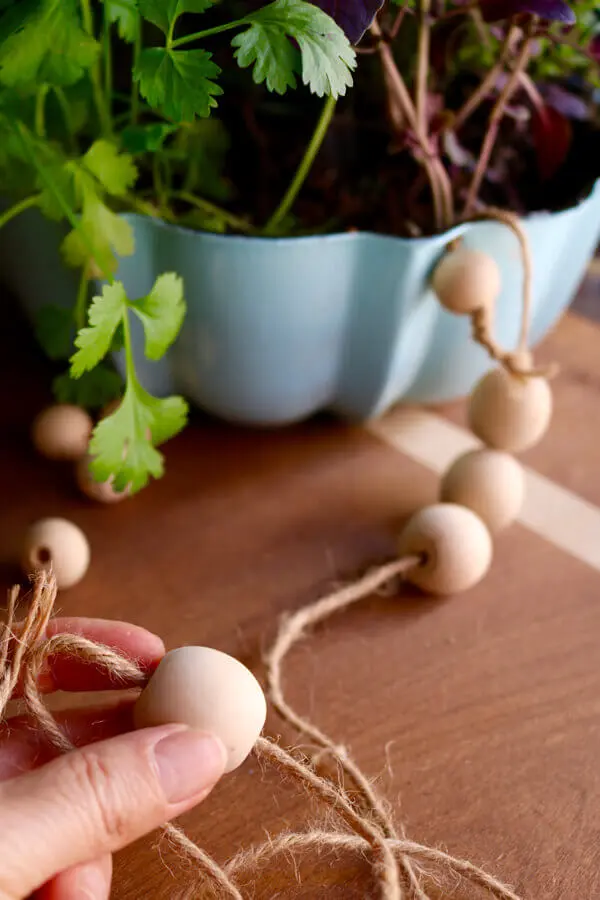
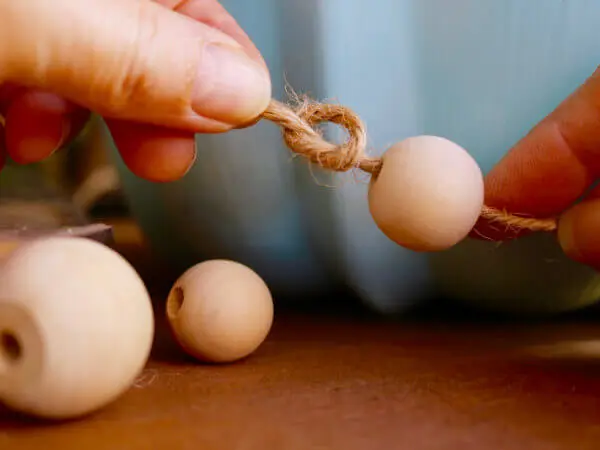
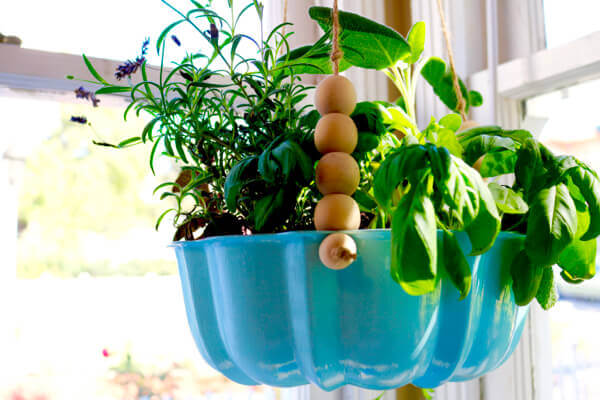
4. For hanging, you can use anything from twine, string, or even heavy yarn. Be creative! Create fun patterns with wooden beads (as is or painted) or whatever you’d like. Seriously…go nuts and do whatever melts your butter! Knot off beads to keep in place.
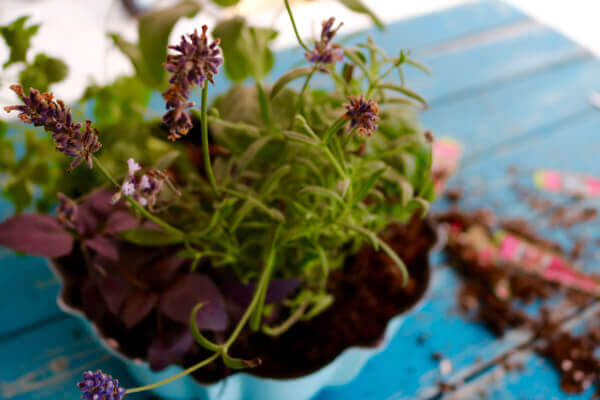
5. Plant your favorite herbs.
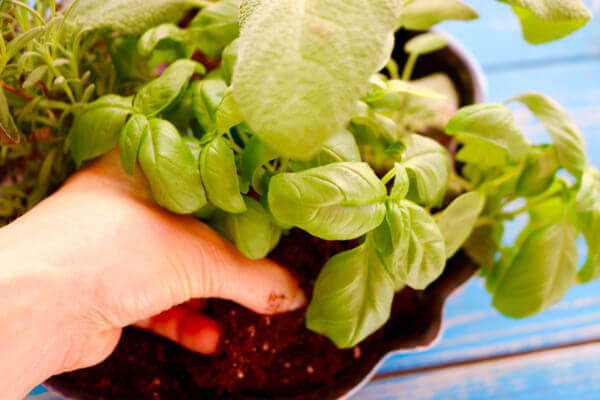
6. Attache a hook and hang! Use an all purpose hook that is designed to work with the material in your ceiling. Mine was old masonry plaster…it works great!
DONE!
For a moving picture tutorial, you can view this how-to, along with two other fun ReDIY projects, here:

